What are You Looking for?
Search
Crypto
Editorial
Tech
Elijah Lucas
Elijah is a professional blogger who writes about technologies and health to inspire their target audience.
34 posts
By
Elijah Lucas
June 6, 2025
How to organize files and folders efficiently on a laptop
Editorial
By
Elijah Lucas
June 4, 2025
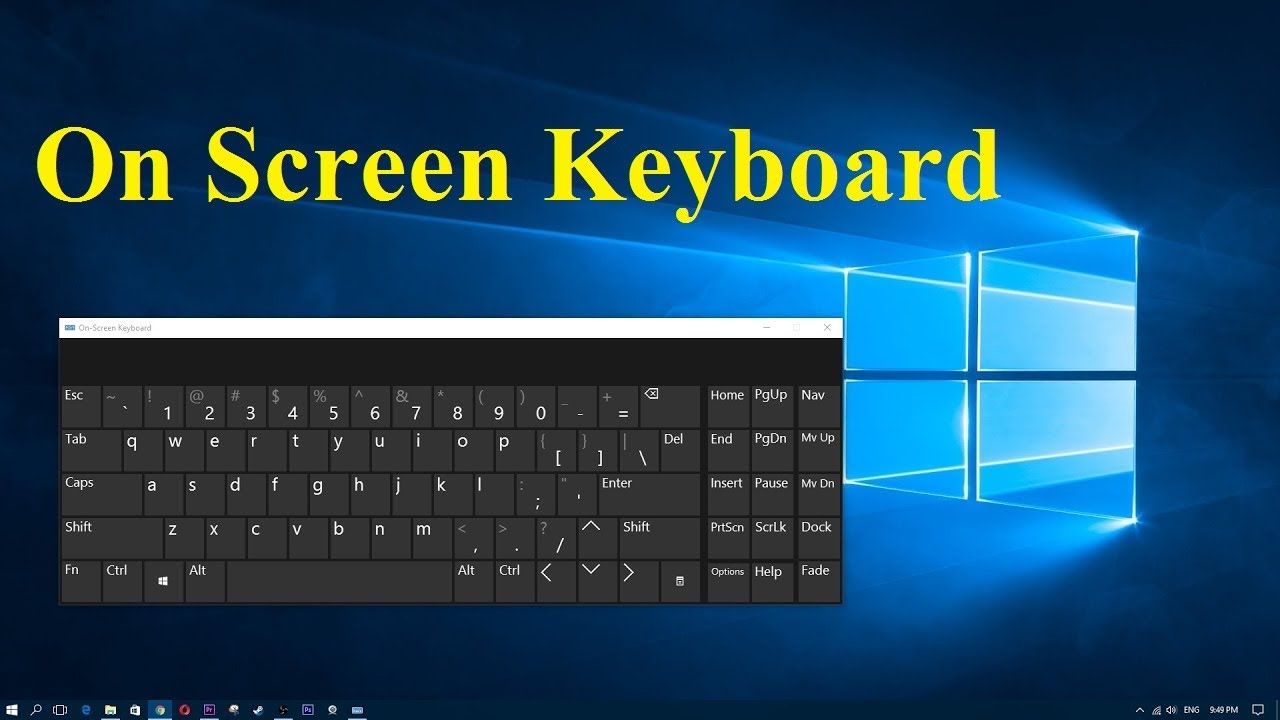
How to Enable On-Screen Keyboard in Windows
Editorial
By
Elijah Lucas
June 3, 2025
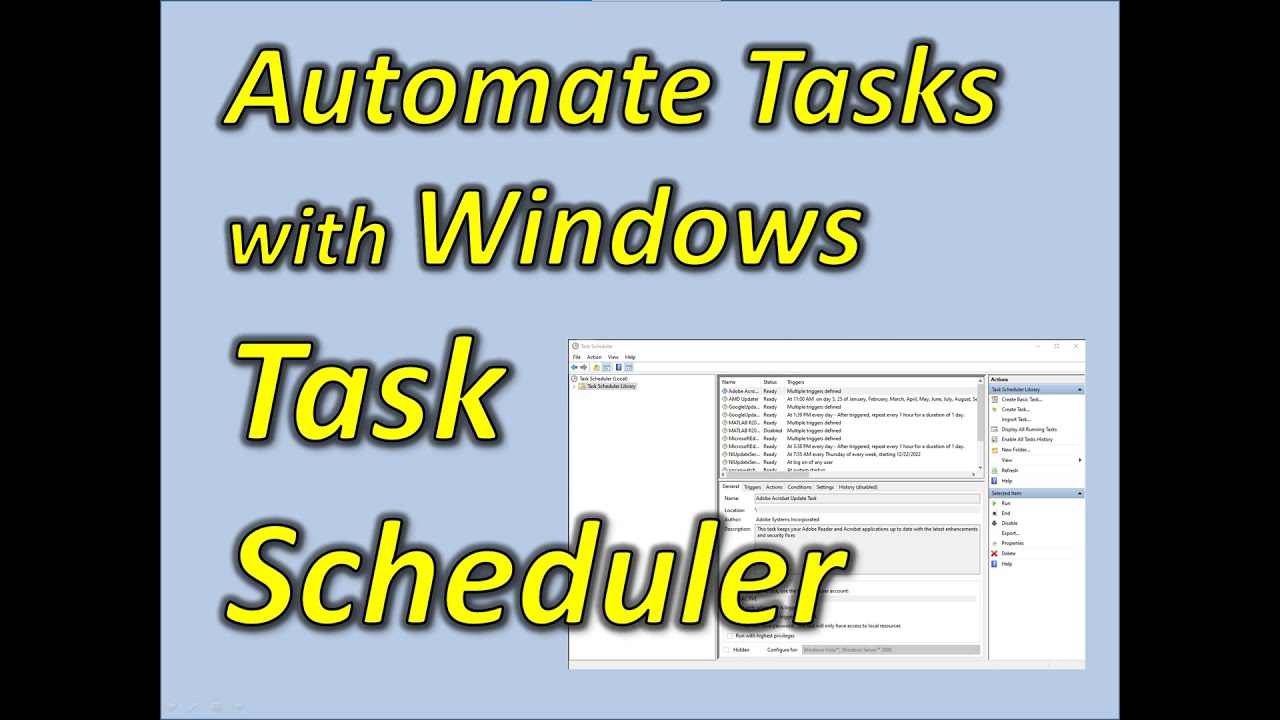
How to use Windows Task Scheduler for Automation
Editorial
By
Elijah Lucas
May 30, 2025
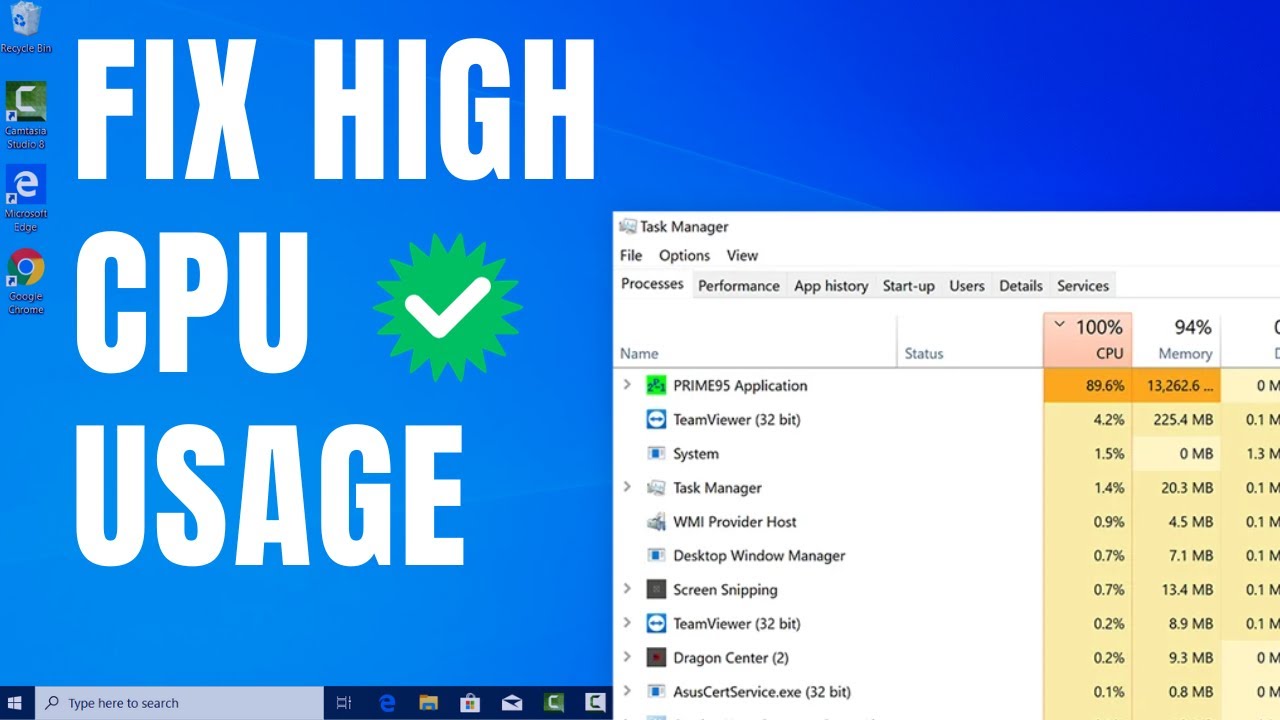
How to Fix High CPU Usage in Windows Task Manager
Editorial
By
Elijah Lucas
May 23, 2025
How to Reset Network Settings in Windows 10
Editorial
By
Elijah Lucas
May 21, 2025
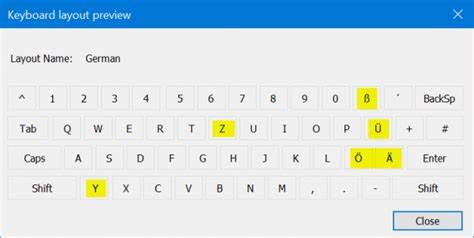
oHow to Change Keyboard Input Method in Windows
Editorial
By
Elijah Lucas
May 20, 2025
How to Change Apple ID Email Without Losing Data
Editorial
By
Elijah Lucas
May 19, 2025
How to Disable Windows Telemetry Data Collection
Editorial
By
Elijah Lucas
May 16, 2025
How to Repair Corrupted System Files in windows
Uncategorized
By
Elijah Lucas
May 15, 2025
How to Fix Ethernet Not Working on Windows
Uncategorized