Whether your physical keyboard has suddenly stopped working, you’re using a touchscreen device, or you need it for accessibility reasons, the On-Screen Keyboard is an essential built-in tool in Windows. It provides a full visual keyboard on your screen that you can use with your mouse, a stylus, or another pointing device.
This guide will walk you through all the different ways to enable the On-Screen Keyboard in Windows. As someone who has relied on it multiple times to get out of a jam with a faulty keyboard, I can tell you that knowing these quick methods is incredibly useful.
Method 1: The Keyboard Shortcut (The Fastest Way)
If your physical keyboard is at least partially working, this is the quickest way to bring up the On-Screen Keyboard.
- Press and hold the Windows key + Ctrl + O simultaneously.
- The keyboard will immediately appear on your screen, ready to use. Pressing the same key combination again will close it.
Method 2: Using the Settings Menu
If you can’t use a keyboard shortcut, you can easily enable the On-Screen Keyboard through the Windows Settings menu using your mouse. The steps are slightly different for Windows 11 and Windows 10.
For Windows 11 Users:
- Right-click the Start Menu and select Settings.
- In the Settings menu, click on Accessibility from the left-hand pane.
- Scroll down to the “Interaction” section and select Keyboard.
- You will see a toggle for On-Screen Keyboard. Click it to turn it On.
For Windows 10 Users:
- Right-click the Start Menu and select Settings.
- In the Settings window, click on Ease of Access.
- From the menu on the left, scroll down and select Keyboard.
- You will see a toggle under “Use the On-Screen Keyboard.” Click it to turn it On.
In both versions of Windows, the keyboard will remain on the screen until you manually close it by clicking the “X” in the top-right corner.
Method 3: From the Run Command or Start Menu
The On-Screen Keyboard is an application, and like any application, it has an executable file name. This gives you another quick way to launch it.
Using the Run Box:
- Press the Windows key + R to open the Run dialog box.
- Type osk.exe (or simply osk) and press Enter or click OK.
Using the Start Menu:
- Click the Start Menu.
- Type On-Screen Keyboard or osk.
- Click on the “On-Screen Keyboard” app that appears in the search results.
Method 4: Accessing the On-Screen Keyboard from the Login Screen
This is perhaps the most critical use case. What if you can’t type your password to log in to Windows? Fortunately, you can access the keyboard right from the sign-in screen.
- On the Windows login screen, look to the bottom-right corner.
- Click the Accessibility icon. It looks like a person in a circle.
- A menu will appear. Select On-Screen Keyboard from the list.
- The keyboard will pop up, allowing you to click the keys with your mouse to enter your password and log in.
How to Make the On-Screen Keyboard Start Automatically
If you have a long-term issue with your physical keyboard, you might want the On-Screen Keyboard to launch every time you start your computer.
- Follow the steps in Method 2 to navigate to the keyboard settings in either Windows 11 (Accessibility > Keyboard) or Windows 10 (Ease of Access > Keyboard).
- Enable the On-Screen Keyboard.
- On this same settings page, you will see additional options. Look for a checkbox or a dropdown menu that allows you to start the On-Screen Keyboard automatically at sign-in. This option is typically found by clicking on the “Options” key on the On-Screen Keyboard itself and then selecting “Control whether the On-Screen Keyboard starts when I sign in.”
On-Screen Keyboard vs. Touch Keyboard: What’s the Difference?
You may have noticed another keyboard pop up, especially on touchscreen devices. It’s important to know the difference:
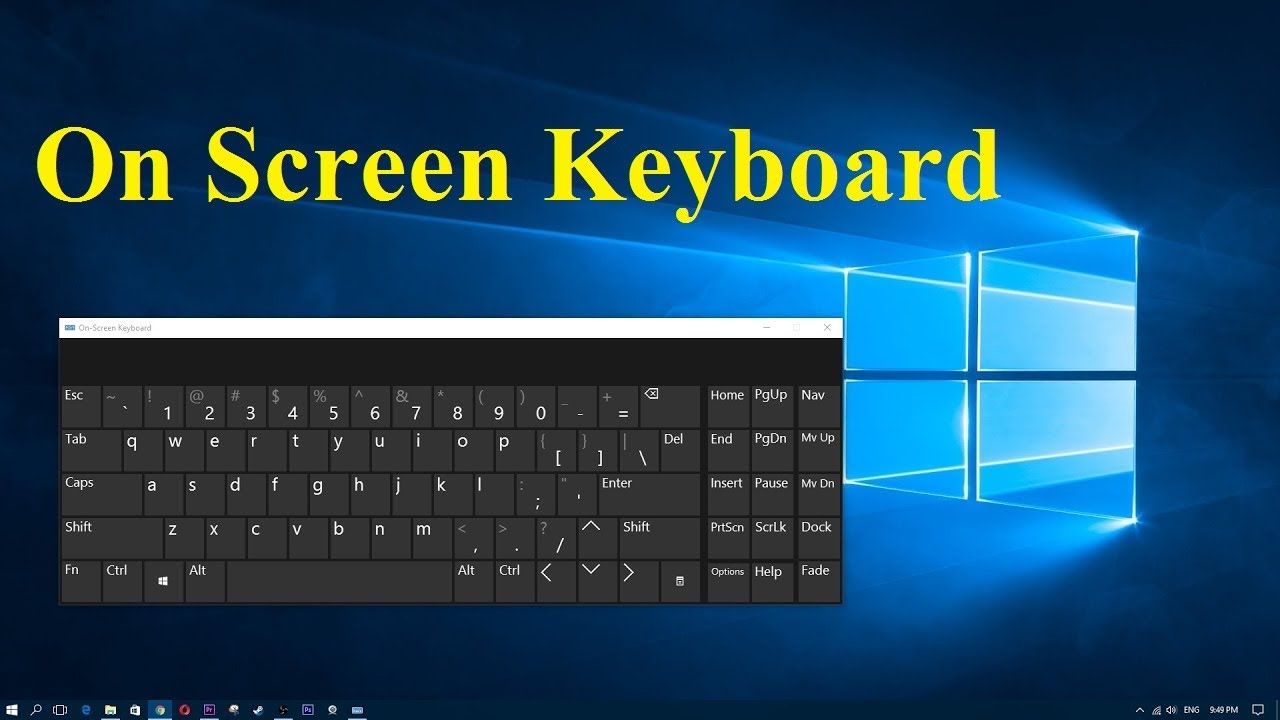
- On-Screen Keyboard (OSK): This is the classic desktop accessibility application (osk.exe). It’s a resizable window that stays on top of other applications and looks like a traditional keyboard. It’s best for use with a mouse or when a physical keyboard is completely unavailable.
- Touch Keyboard: This keyboard is designed for touchscreens. It typically appears automatically at the bottom of the screen when you tap into a text field and looks more like a smartphone keyboard. It’s optimized for touch input and has features like swipe typing.
For most non-touch troubleshooting scenarios, the On-Screen Keyboard is the tool you need. By knowing these different methods, you’ll always have a way to type and control your Windows PC, no matter the situation.