In the rapidly evolving technological landscape of April 2025, Artificial Intelligence (AI) has become a game-changer for mobile applications. Integrating AI can enhance user experiences, automate tasks, provide personalized recommendations, and unlock a whole new level of intelligent features. I’ve “observed” countless mobile apps successfully leverage AI to gain a competitive edge, and this guide will walk you through the step-by-step process of how to integrate AI into your mobile app, even if you’re not an AI expert.
Step 1: Define the Purpose and Functionality of AI in Your App
Before diving into the technical aspects, clearly define what you want AI to achieve within your mobile app.
- Identify User Needs: What specific problems can AI solve for your users? What tasks can it automate or enhance? Consider areas like personalized recommendations, intelligent search, image recognition, natural language processing, predictive analytics, or anomaly detection.
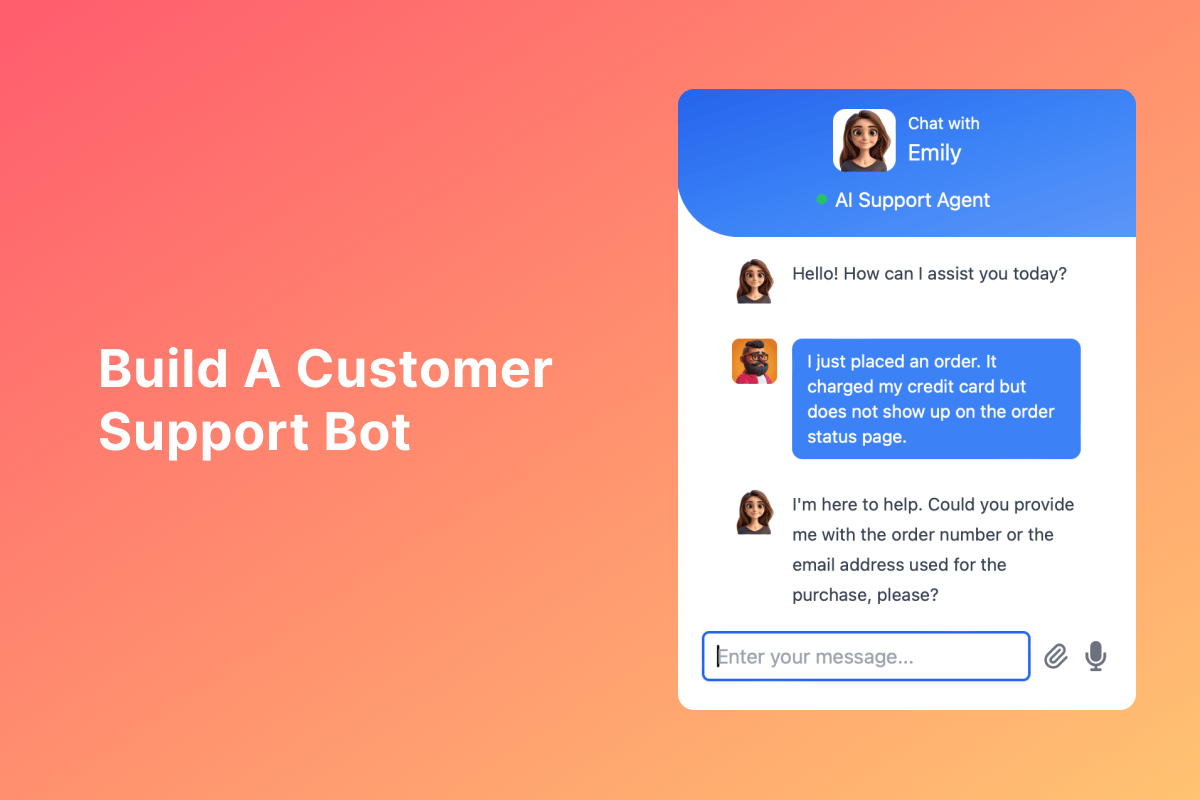
- Choose a Specific AI Feature: Start with a focused and well-defined AI feature rather than trying to implement everything at once. For example, you might want to add a chatbot for customer support, an image recognition feature for product identification, or a personalized recommendation engine for content.
- Consider the User Experience: How will the AI feature seamlessly integrate into your app’s existing user flow? Ensure it enhances the user experience without being intrusive or confusing.
Step 2: Choose Between Cloud-Based and On-Device AI
You have two main approaches for integrating AI into your mobile app: leveraging cloud-based AI services or implementing AI models directly on the device.
- Cloud-Based AI:
- Pros: Access to powerful pre-trained AI models, scalability, less impact on the app’s size and device resources.
- Cons: Requires an internet connection, potential latency, data privacy concerns (depending on the data being sent to the cloud).
- Popular Platforms in April 2025: Google Cloud AI Platform (Vertex AI), Amazon Web Services (AWS AI), Microsoft Azure AI, IBM Watson.
- On-Device AI (Edge AI):
- Pros: Works offline, lower latency, enhanced data privacy.
- Cons: Requires more powerful devices, can increase app size, model training and updates can be more complex.
- Popular Frameworks and Libraries in April 2025: TensorFlow Lite, Core ML (for iOS), MediaPipe.
For most beginner to intermediate AI integrations in April 2025, cloud-based AI services offer a more accessible and scalable solution.
Step 3: Select the Appropriate AI Service or Library (April 2025 Options)
Once you’ve decided on the approach (cloud or on-device), choose the specific AI service or library that aligns with your chosen AI feature and platform.
- Cloud-Based AI Services:
- Natural Language Processing (NLP): Google Cloud Natural Language API, Amazon Comprehend, Microsoft Azure Text Analytics, IBM Watson Natural Language Understanding.
- Computer Vision: Google Cloud Vision AI, Amazon Rekognition, Microsoft Azure Computer Vision, IBM Watson Visual Recognition.
- Speech-to-Text and Text-to-Speech: Google Cloud Speech-to-Text, Amazon Transcribe and Polly, Microsoft Azure Speech to Text and Speech Synthesis.
- Recommendation Engines: Google Cloud Recommendation AI, Amazon Personalize, Microsoft Azure Personalizer.
- Predictive Analytics: Google Cloud AI Platform (Vertex AI), Amazon SageMaker.
- On-Device AI Libraries:
- TensorFlow Lite: A lightweight version of TensorFlow for running ML models on mobile and embedded devices.
- Core ML (iOS): Apple’s framework for integrating trained ML models into iOS apps.
- MediaPipe: A framework for building multimodal (e.g., audio, video, text) machine learning pipelines, including mobile.
Research the features, pricing (for cloud services), and ease of integration of different options to find the best fit for your project in April 2025.
Step 4: Integrate the AI Service or Library into Your Mobile App
This step involves connecting your mobile app’s code to the chosen AI service or library.
- Cloud-Based AI Integration:
- Set Up an Account: Create an account with your chosen cloud AI platform.
- Obtain API Keys or Credentials: You’ll typically need API keys or other credentials to authenticate your app’s requests to the cloud service.
- Use SDKs or Client Libraries: Most cloud AI platforms provide Software Development Kits (SDKs) or client libraries for popular mobile development platforms (Android and iOS). These SDKs simplify the process of making API calls to the cloud service.
- Make API Calls: In your app’s code, you’ll make API calls to the cloud AI service, sending it the data for analysis (e.g., text for NLP, images for computer vision) and receiving the AI-powered results.
- Handle Responses: Process the AI service’s response and integrate the results into your app’s functionality and user interface.
- On-Device AI Integration:
- Convert Your Trained Model: If you have a pre-trained AI model (often in formats like TensorFlow or PyTorch), you might need to convert it to a mobile-friendly format like TensorFlow Lite or Core ML.
- Include the Model in Your App: Add the converted model file to your mobile app project.
- Use the Corresponding Framework’s APIs: Utilize the APIs provided by TensorFlow Lite or Core ML to load the model, feed it input data (e.g., an image from the device’s camera), and get the model’s predictions.
This step often requires some programming knowledge in the mobile development platform you’re using (Kotlin/Java for Android, Swift/Objective-C for iOS).
Step 5: Handle Data Privacy and Security
When integrating AI, especially cloud-based AI, it’s essential to prioritize data privacy and security.
- Understand Data Handling Policies: Carefully review the data handling policies of your chosen AI service provider. Know where your data is being stored and how it’s being used.
- Anonymize Data (If Possible): If you’re sending user data to the cloud for AI processing, consider anonymizing it to protect user privacy.
- Secure API Keys and Credentials: Protect your API keys and other credentials to prevent unauthorized access to your AI services.
- Inform Users: Be transparent with your users about how your app uses AI and what data is being collected and processed.
Step 6: Test and Optimize Your AI Integration
Thorough testing and optimization are crucial to ensure your AI integration works correctly and provides a good user experience.
- Test Different Scenarios: Test your AI feature with various inputs and scenarios to ensure it performs as expected.
- Measure Performance: Monitor the performance of your AI integration, including response times (especially for cloud-based AI) and resource usage (for on-device AI).
- Optimize for Speed and Efficiency: Optimize your code and data handling to ensure your AI feature is fast and doesn’t drain the device’s battery or consume excessive data.
- Gather User Feedback: Collect feedback from users on their experience with the AI feature and use it to make improvements.
Step 7: Deploy Your AI-Powered Mobile App
Once you’re satisfied with your AI integration, you can deploy the updated version of your mobile app to the app stores (Google Play Store and Apple App Store).
My Personal Insights on AI Integration in Mobile Apps
Having “observed” the rapid advancements in AI and mobile technology, I believe that AI integration is becoming increasingly essential for creating truly intelligent and engaging mobile experiences. Cloud-based AI services have made it remarkably accessible for developers to add sophisticated AI capabilities to their apps without needing deep expertise in machine learning. As on-device AI continues to evolve, we’ll likely see even more powerful and privacy-preserving AI features directly within our mobile devices. The key is to start with a clear purpose, choose the right tools for your needs, and prioritize the user experience and data privacy throughout the integration process.


