Managing app permissions in Windows is crucial for maintaining your privacy and ensuring that applications only access the resources they need. Both Windows 10 and Windows 11 provide built-in settings to control app permissions, allowing you to grant or revoke access to features like the camera, microphone, location, and more. This guide will walk you through the steps to manage app permissions effectively.
Understanding App Permissions in Windows
Windows distinguishes between two types of applications:
- Universal Windows Platform (UWP) apps: These are apps downloaded from the Microsoft Store. Windows allows you to manage their permissions directly through the Settings app.
- Desktop (Win32) apps: Traditional applications installed outside the Microsoft Store. These apps have broader access to system resources, and Windows does not provide granular permission controls for them.
Managing App Permissions in Windows 11
Step 1: Access Privacy & Security Settings
- Click on the Start menu and select Settings.
- In the Settings window, click on Privacy & security in the left-hand sidebar.
Step 2: Manage Permissions by Category
Under the App permissions section, you’ll find various categories such as:
- Location
- Camera
- Microphone
- Notifications
- Contacts
- Calendar
- Call history
- Tasks
- Messaging
- Radios
- Other devices
- Background apps
- App diagnostics
- File system
Click on a category to view and manage which apps have access to that specific feature.
Step 3: Toggle Permissions
Within each category:
- At the top, you’ll see a toggle to allow or deny access to that feature for all apps.
- Below, individual toggles let you grant or revoke access for specific apps.
For example, to manage camera permissions:
- Click on Camera under App permissions.
- Toggle Camera access to allow or deny camera access for all apps.
- Under Let apps access your camera, toggle individual apps on or off as desired.
Step 4: Manage Permissions for Individual Apps
To adjust permissions for a specific app:
- Go to Settings > Apps > Installed apps.
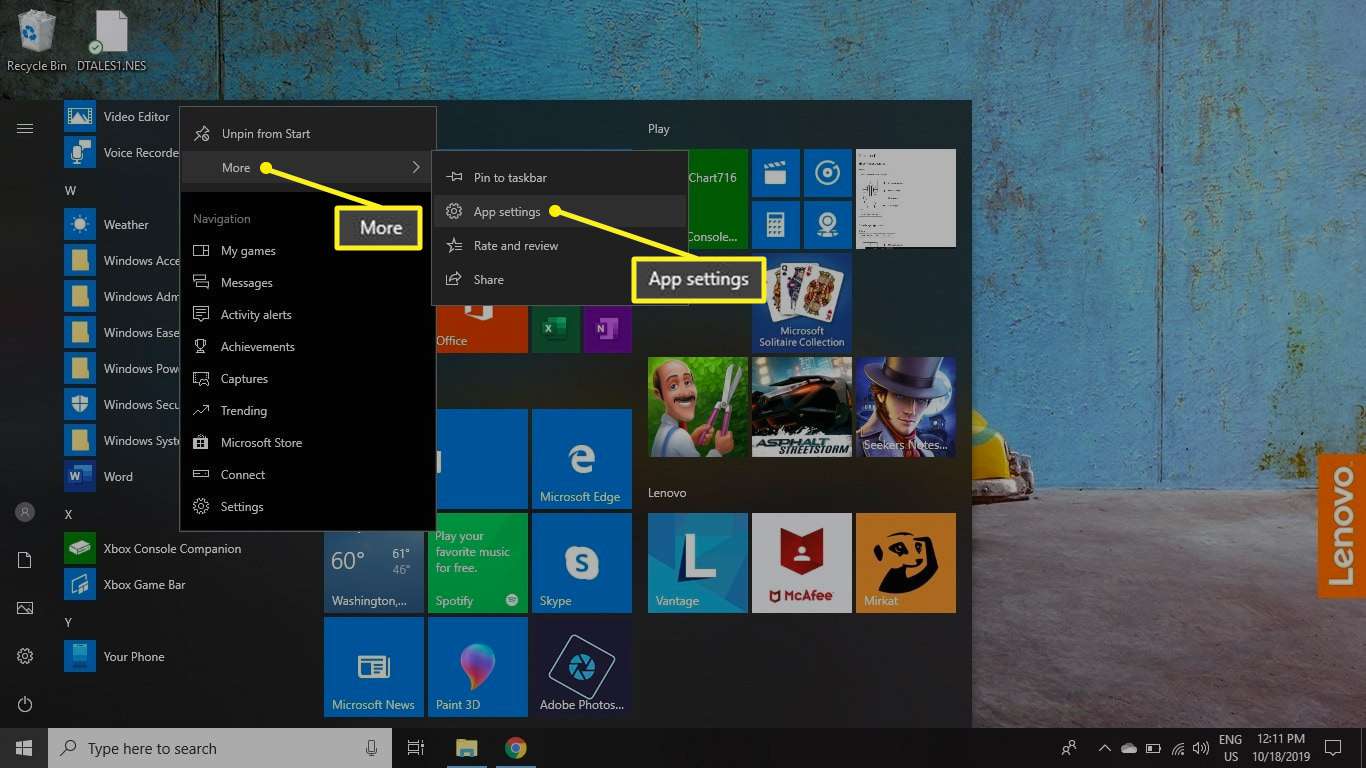
- Find the app you want to modify and click on the three-dot menu next to it.
- Select Advanced options.
- Under App permissions, toggle the permissions on or off as needed.
*Note: If the app doesn’t have any permissions listed, it may be a traditional desktop app without configurable permissions in this section.
Managing App Permissions in Windows 10
The process in Windows 10 is similar, with slight differences in navigation.
Step 1: Access Privacy Settings
- Click on the Start menu and select Settings.
- In the Settings window, click on Privacy.
Step 2: Manage Permissions by Category
In the left-hand sidebar, you’ll find categories under App permissions similar to those in Windows 11. Click on a category to view and manage app access.
Step 3: Toggle Permissions
Within each category:
- Toggle the switch to allow or deny access to that feature for all apps.
- Below, individual toggles let you manage access for specific apps.
Step 4: Manage Permissions for Individual Apps
To adjust permissions for a specific app:
- Go to Settings > Apps > Apps & features.
- Find the app you want to modify and click on it.
- Select Advanced options.
- Under App permissions, toggle the permissions on or off as needed.
Additional Tips
- Review Permissions Regularly: Periodically check app permissions to ensure apps only have access to necessary features.
- Be Cautious with Permissions: Grant permissions only to apps you trust, especially for sensitive features like the camera, microphone, and location.
- Understand App Requirements: Some apps may not function correctly if certain permissions are denied. If an app isn’t working as expected, check its permissions.
Personal Experience
In my experience, managing app permissions has been essential for maintaining privacy and controlling app behavior. For instance, I prefer to disable location access for apps that don’t require it, reducing unnecessary tracking. Regularly reviewing permissions helps me stay informed about what data my apps can access and ensures that my system remains secure.
Conclusion
Managing app permissions in Windows 10 and 11 is a straightforward process that empowers you to control what information and features your apps can access. By regularly reviewing and adjusting these settings, you can enhance your privacy and ensure that apps function as intended without overreaching their access.


