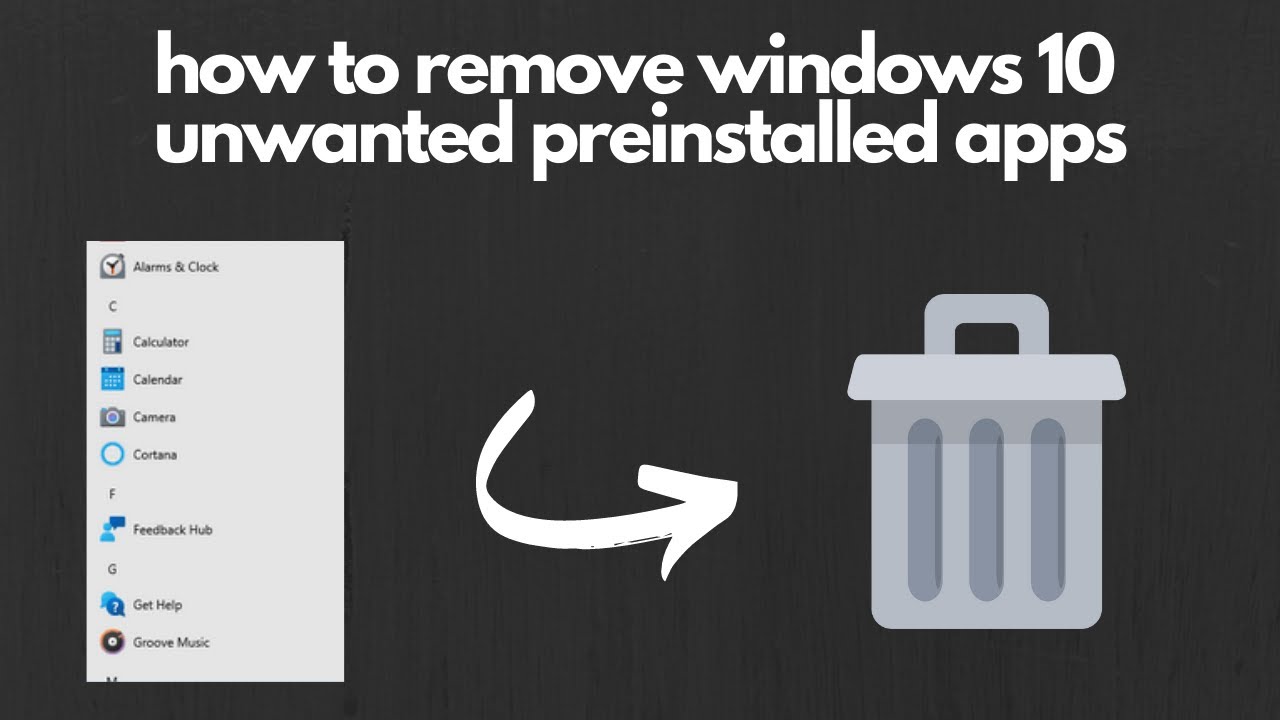
When you first set up a new Windows 10 PC, especially one from a major manufacturer, you might notice a collection of pre-installed apps that you never asked for. These often include games (like Candy Crush Saga or Solitaire Collection), social media apps (like TikTok or Facebook), or trial versions of software. This phenomenon is commonly referred to as bloatware. While some users might find these convenient, many consider them unnecessary clutter that consumes disk space, uses system resources, and can potentially impact performance and privacy.
The presence of bloatware has been a contentious issue in the personal computing world for decades, long before the advent of Windows 10. From bundled trialware on early 2000s desktops to unwanted toolbars and browser extensions, manufacturers often pre-load software as part of agreements with third-party developers or even Microsoft itself. This practice aims to generate additional revenue, but it often comes at the cost of a clean, efficient user experience. Fortunately, Windows 10 offers several ways to remove these unwanted applications, helping you reclaim control over your system.
This comprehensive guide will walk you through various methods to uninstall pre-installed apps in Windows 10, from simple built-in options to more advanced techniques using PowerShell, ensuring you can customize your PC to your liking.
Why Uninstall Pre-Installed Apps?
Removing pre-installed apps (bloatware) can provide several benefits:
- Free Up Disk Space: Unwanted apps, especially games, can occupy significant storage space on your drive.
- Improve Performance: Some pre-installed apps run in the background, consuming RAM and CPU cycles, which can slow down your system. Removing them can lead to a snappier PC.
- Enhance Privacy: Certain apps might collect data or display unwanted notifications. Removing them reduces your digital footprint.
- Reduce Clutter: A cleaner Start Menu and app list make it easier to find the applications you actually use.
Methods to Uninstall Pre-Installed Apps in Windows 10
Windows 10 offers several ways to remove apps, depending on whether they are traditional desktop programs or modern Universal Windows Platform (UWP) apps.
Method 1: Uninstall from the Start Menu (Easiest for Many UWP Apps)
This is the quickest and most straightforward method for many pre-installed UWP apps that you might find in your Start Menu.
- Step 1: Open the Start Menu.
- Click the Start button (Windows logo) in the bottom-left corner of your screen, or press the Windows key on your keyboard.
- Step 2: Find the App to Uninstall.
- Scroll down the “All apps” list on the left side of the Start Menu.
- Alternatively, if the app is pinned as a tile on the right, you can right-click it there.
- Step 3: Right-Click and Uninstall.
- Right-click on the pre-installed app you wish to remove (e.g., “Candy Crush Saga,” “Xbox,” “Mail,” “Calendar”).
- From the context menu, select “Uninstall.”
- Step 4: Confirm Uninstall.
- A confirmation dialog will appear. Click “Uninstall” again to confirm.
- For some apps, you might be redirected to the “Apps & features” section in Settings or a traditional uninstall wizard. Follow any on-screen prompts.
Many common bloatware items can be removed this way. However, you’ll notice that for some core Microsoft UWP apps (like Photos, Edge, or Calculator), the “Uninstall” option might be grayed out. For those, you’ll need more advanced methods.
Method 2: Uninstall from Windows Settings (“Apps & features”)
This method lists all installed applications, both traditional desktop programs and UWP apps, making it a centralized place for uninstallation.
- Step 1: Open Settings.
- Click the Start button, then click the Settings gear icon.
- Alternatively, press Windows key + I.
- Step 2: Navigate to “Apps & features.”
- Click on “Apps” in the Settings window.
- Then, select “Apps & features” from the left-hand menu.
- Step 3: Locate and Uninstall the App.
- A list of all installed applications will appear. You can use the search bar or sort the list to find the pre-installed app you want to remove.
- Click on the app you wish to uninstall.
- Click the “Uninstall” button that appears.
- A confirmation prompt may appear; click “Uninstall” again.
- For traditional desktop programs, this might launch a separate uninstallation wizard. Follow its instructions.
- Similar to the Start Menu method, some built-in UWP apps will have the “Uninstall” button grayed out here as well.
Method 3: Uninstall from Control Panel (For Traditional Desktop Programs)
While less common for modern pre-installed UWP apps, some manufacturers might pre-install traditional desktop software that appears in the Control Panel’s “Programs and Features.”
- Step 1: Open Control Panel.
- Search for “Control Panel” in the Windows search bar and open it.
- Step 2: Go to “Programs and Features.”
- Under the “Programs” section, click on “Uninstall a program” (if “View by” is set to “Category”).
- If “View by” is set to “Large icons” or “Small icons,” click “Programs and Features.”
- Step 3: Locate and Uninstall the Program.
- Find the traditional desktop program you want to remove from the list.
- Right-click on it and select “Uninstall/Change,” or select it and click the “Uninstall/Change” button at the top of the list.
- Follow the on-screen instructions of the uninstallation wizard.
Method 4: Using PowerShell (For Stubborn UWP Apps and Deeper Removal)
For pre-installed apps that cannot be uninstalled via the Start Menu or Settings (often core Microsoft UWP apps like Photos, Camera, or even some Xbox components), PowerShell provides a powerful command-line method. This method requires administrative privileges.
PowerShell: A command-line shell and scripting language developed by Microsoft for task automation and configuration management across various Windows environments. It provides deeper control over the operating system.
- Step 1: Open PowerShell as Administrator.
- Search for “PowerShell” in the Windows search bar.
- Right-click on “Windows PowerShell” in the search results.
- Select “Run as administrator.”
- Click “Yes” if prompted by User Account Control (UAC).
- Step 2: Get a List of Installed Apps (Optional but Recommended).
- To see a list of all UWP apps installed for your current user, type the following command and press Enter: Get-AppxPackage
- To see all apps installed for all users (which is useful for many pre-installed apps), type: Get-AppxPackage -AllUsers
- This will give you a long list of packages. Look for the Name or PackageFullName of the app you want to remove. For instance, “Microsoft.XboxApp,” “Microsoft.ZuneVideo,” “Microsoft.Windows.Photos,” “Microsoft.BingWeather,” etc. You only need a part of the name for the next step.
- Step 3: Uninstall a Specific App.
- To uninstall a specific app for the current user, use the Remove-AppxPackage cmdlet with a wildcard: Get-AppxPackage *AppName* | Remove-AppxPackage
- Replace *AppName* with a unique part of the app’s name you found in Step 2.
- Examples:
- Xbox App: Get-AppxPackage *xboxapp* | Remove-AppxPackage
- Mail and Calendar: Get-AppxPackage *communi* | Remove-AppxPackage
- Photos: Get-AppxPackage *photo* | Remove-AppxPackage
- Groove Music: Get-AppxPackage *zunemusic* | Remove-AppxPackage
- Weather: Get-AppxPackage *bingweather* | Remove-AppxPackage
- To remove an app for ALL users (and prevent it from being re-provisioned for new users): You need to use Remove-AppxProvisionedPackage in addition to Remove-AppxPackage.
- First, identify the full package name: Get-AppxProvisionedPackage -Online | Where-Object DisplayName -like “*AppName*”
- Then, remove it: Get-AppxProvisionedPackage -Online | Where-Object DisplayName -like “*AppName*” | Remove-AppxProvisionedPackage -Online
- And for current users: Get-AppxPackage *AppName* | Remove-AppxPackage -AllUsers
- Example (Xbox App for All Users):
- Get-AppxProvisionedPackage -Online | Where-Object DisplayName -like “*XboxApp*” | Remove-AppxProvisionedPackage -Online
- Get-AppxPackage *xboxapp* | Remove-AppxPackage -AllUsers
- To uninstall a specific app for the current user, use the Remove-AppxPackage cmdlet with a wildcard: Get-AppxPackage *AppName* | Remove-AppxPackage
I’ve used PowerShell extensively to remove bloatware for clients. It’s incredibly efficient for bulk removal, but you absolutely need to know what you’re typing. One wrong command could lead to unexpected system behavior.
Method 5: Using Third-Party Bloatware Removal Tools
Several third-party tools are designed specifically to help users uninstall pre-installed apps and general bloatware from Windows 10. These often provide a more user-friendly interface than PowerShell for bulk removal and might also clean up leftover files.
- Popular Tools:
- O&O AppBuster: A free, portable tool that lists most UWP apps and allows you to easily uninstall them with a few clicks. It can even create a system restore point before making changes.
- CCleaner (Tools > Uninstall): While known for cleaning, CCleaner also has an uninstaller feature that lists both desktop programs and UWP apps, allowing for removal.
- Revo Uninstaller: Offers a free version that provides more thorough uninstallation by scanning for leftover files and registry entries after the standard uninstall process. It’s excellent for traditional desktop programs and has some UWP app support.
- Windows 10 Debloater Scripts (GitHub): These are community-developed PowerShell scripts (often with GUI versions) that automate the removal of many common bloatware items. Use these with extreme caution, as they can sometimes remove components you might later need. Always research the script thoroughly and understand what it does before running it.
- How to use (General Steps for GUI Tools like O&O AppBuster):
- Step 1: Download the tool.
- Step 2: Run the tool (often no installation needed).
- Step 3: Scan for Apps. The tool will usually list all detectable apps, often categorizing them.
- Step 4: Select and Uninstall. Choose the apps you want to remove. The tool might offer to create a restore point first (highly recommended!).
- Step 5: Confirm and Complete. Follow any prompts to complete the uninstallation.
Important Considerations Before Uninstalling
- Know What You’re Deleting: Do not indiscriminately remove apps, especially if you’re unsure of their purpose. Some built-in apps (like the Calculator, Photos, or even some Xbox components) might be dependencies for other features or games you use. Removing them might break functionality.
- System Restore Point: Before using PowerShell or third-party tools for extensive bloatware removal, it’s highly recommended to create a system restore point. This allows you to revert your system to a previous state if something goes wrong.
- System Restore Point: A snapshot of your computer’s system files, installed applications, Windows Registry, and system settings, taken at a specific point in time. It allows you to revert your system to that earlier state if issues arise.
- OneDrive Caution: If you use OneDrive for file syncing, be cautious when uninstalling the OneDrive app. While your files in the cloud won’t be deleted, the local syncing functionality will cease.
- Reinstallation: Most UWP apps that you uninstall can be reinstalled later from the Microsoft Store if you change your mind.
By choosing the right method and proceeding with caution, you can effectively uninstall pre-installed apps in Windows 10, creating a cleaner, faster, and more personalized computing experience.
Frequently Asked Questions (FAQ)
Q1: What is “bloatware” in Windows 10?
Bloatware refers to pre-installed apps or software that comes bundled with a new Windows 10 PC or during certain Windows updates. These applications are often unnecessary for the user and can consume disk space, system resources, and potentially impact performance or privacy.
Q2: Is it safe to uninstall all pre-installed apps?
It is generally safe to uninstall most non-essential pre-installed apps like games (Candy Crush), social media apps (TikTok), or trial software. However, you should avoid uninstalling core Windows components (like the Microsoft Store itself, Calculator, or Microsoft Edge) using advanced methods unless you know exactly what you’re doing, as this could lead to system instability or broken functionality.
Q3: Why can’t I uninstall some pre-installed apps from Settings or the Start Menu?
Some pre-installed apps are considered essential or deeply integrated Universal Windows Platform (UWP) components by Microsoft. For these apps (e.g., Photos, Camera, some Xbox components), the “Uninstall” option is grayed out in Settings and the Start Menu. To remove them, you typically need to use PowerShell commands or specialized third-party uninstaller tools.
Q4: Will uninstalling pre-installed apps improve my PC’s performance?
Yes, uninstalling pre-installed apps can often improve your PC’s performance. Many of these apps run in the background, consuming RAM and CPU cycles. Removing them frees up these resources, leading to a snappier system, faster boot times, and more available disk space.
Q5: What is PowerShell and how does it help with app uninstallation?
PowerShell is a powerful command-line shell and scripting language in Windows that provides deep control over the operating system. For app uninstallation, it allows you to use specific commands (Get-AppxPackage | Remove-AppxPackage) to target and remove UWP apps that cannot be uninstalled through standard GUI methods, including those that are pre-installed for all users.
Q6: Can I reinstall a pre-installed app after uninstalling it?
Yes, most pre-installed apps that are Universal Windows Platform (UWP) apps (downloaded from the Microsoft Store) can be reinstalled at any time by simply searching for them in the Microsoft Store and clicking “Get” or “Install.”
Q7: Should I use a third-party bloatware removal tool?
Third-party bloatware removal tools can be convenient for uninstalling multiple pre-installed apps at once and often provide a more user-friendly interface than PowerShell. However, always download such tools from reputable sources and consider creating a system restore point before using them, as aggressive removal can sometimes lead to unintended side effects.