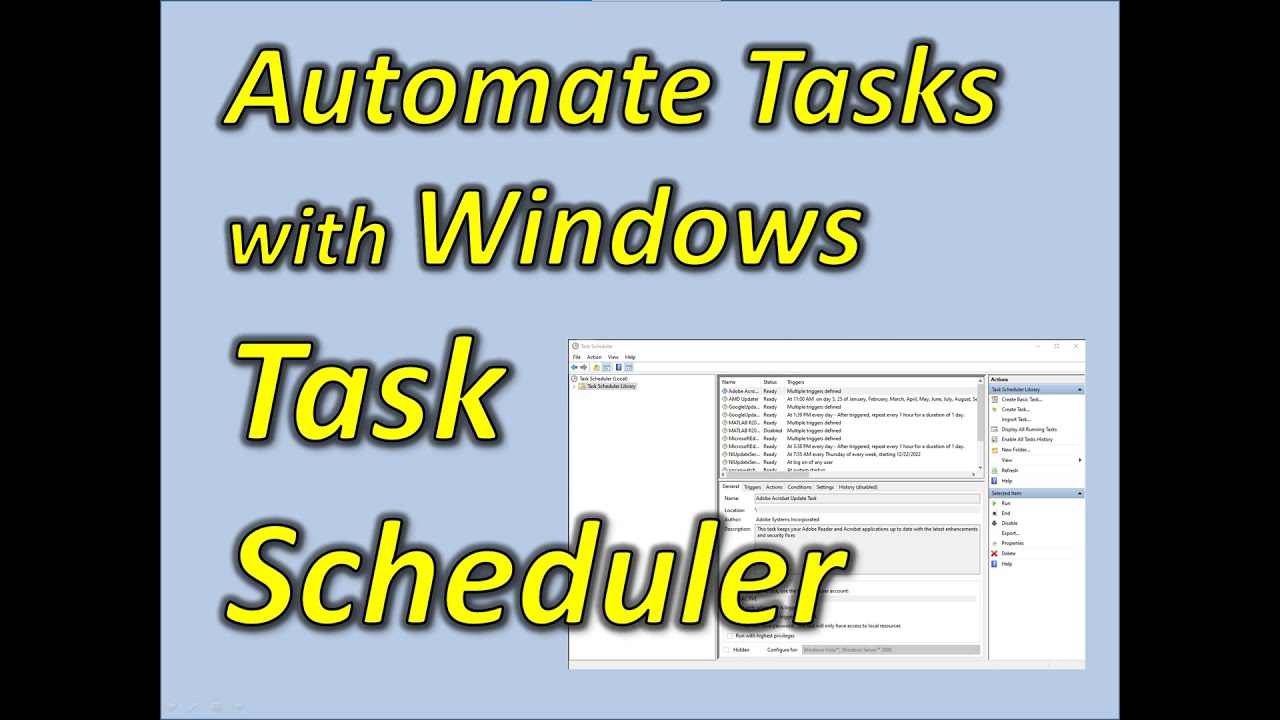
Windows Task Scheduler is a powerful built-in tool that helps you automate tasks on your PC. Instead of manually opening programs, running scripts, or performing maintenance, you can set tasks to run automatically—at specific times, on events, or under certain conditions. Mastering this utility can save you time and keep your system running smoothly.
Why Use Task Scheduler?
Automating tasks offers many perks:
- Efficiency: Tasks run on their own, freeing you up for other things.
- Consistency: Tasks happen reliably on schedule without you needing to remember.
- Maintenance: Schedule disk cleanups, antivirus scans, or system updates.
- Boost Productivity: Automatically launch apps or organize files.
- Control: Customize exactly when and how tasks run, including power or network conditions.
- No Extra Software: It’s built right into Windows.
Understanding Task Scheduler Basics
Before you create a task, here’s what you need to know:
- Task: What action(s) you want to automate.
- Trigger: What starts the task (time, event, idle state).
- Action: What the task does (run a program, send an email, show a message).
- Conditions: Extra requirements for the task to run (like being on AC power).
- Settings: How Windows manages the task (e.g., stop if running too long).
Step 1: Open Task Scheduler
You can open Task Scheduler a few ways:
- Search the Start menu for Task Scheduler.
- Press Windows + R, type taskschd.msc, and hit Enter.
- Or find it in Control Panel > Administrative Tools.
Step 2: Create a New Task
We’ll use the full Create Task option for complete control.
- Click Create Task… in the right Actions pane.
Step 3: Configure General Settings
- Name: Give your task a clear name (e.g., “Open Morning News”).
- Description: Optional, but useful to note what it does.
- Security options:
- Usually, keep Run only when user is logged on for personal tasks.
- For tasks needing admin rights or running regardless of login, choose Run whether user is logged on or not (may require password).
- Check Run with highest privileges if the task needs admin rights.
- Choose your Windows version in Configure for.
Step 4: Set Triggers (When the Task Runs)
- Go to the Triggers tab, click New…
- Pick a trigger type:
- On a schedule (daily, weekly, one-time) — common choice.
- At startup, At logon, On idle, or On an event for more advanced triggers.
- Set start time, recurrence, and other options.
- Click OK.
Step 5: Define Actions (What the Task Does)
- Go to Actions tab, click New…
- Choose Start a program (most common).
- Browse to the program’s executable (e.g., Chrome at C:\Program Files\Google\Chrome\Application\chrome.exe).
- In Add arguments, enter parameters if needed (for example, a URL to open in a browser).
- Click OK.
Step 6: Optional Conditions
Set additional conditions like:
- Only run on AC power (good for laptops).
- Run only if connected to a specific network.
- Run only if computer is idle.
- Wake computer to run task.
Step 7: Configure Settings
Adjust how Task Scheduler handles the task:
- Allow manual runs anytime.
- Run task as soon as possible if a scheduled start is missed.
- Decide what happens if the task is already running (usually don’t start a new instance).
- Set maximum runtime and choose to force stop if necessary (use cautiously).
Step 8: Save and Test
- Click OK to create the task (you may need to enter your password).
- In the Task Scheduler Library, find your task.
- Right-click and select Run to test it.
- Verify that it performs as expected.
Managing and Troubleshooting
- Use the History tab on each task to check if it ran successfully or failed.
- Common errors:
- 0x0: Success
- 0x2: File not found (check program path)
- 0x80070005: Access denied (try running with highest privileges)
- Make sure the user account running the task has necessary permissions.
By following these steps, you can automate a wide range of Windows tasks, making your computing life easier and more efficient.