For anyone juggling multiple languages, special characters, or just a preferred keyboard layout, knowing how to change the keyboard input method in Windows is pretty much essential. Luckily, Windows offers solid support for this—you can switch between different layouts like QWERTY, AZERTY, or Dvorak, and input languages like English, Spanish, Japanese, or Hindi in just a few clicks. Here’s a detailed, step-by-step guide on how to add, manage, and switch keyboard input methods in both Windows 10 and 11.
Why Keyboard Input Methods Matter Whether you’re working across languages, coding with specific symbols, or just like a different physical layout, customizing your keyboard setup can make a big difference. Windows makes it relatively simple to add and toggle between input methods on the fly.
Understanding Keyboard Input Methods
Let’s break down what we mean by input methods:
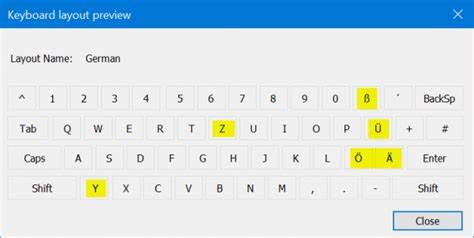
- Keyboard Layouts: The physical arrangement of keys (like QWERTY for English or AZERTY for French).
- Input Languages: The actual language and script used (e.g., English (US), Spanish (Spain), Japanese).
- Input Method Editors (IMEs): Especially useful for languages like Japanese or Chinese, these let you type phonetic input and then pick characters from a list.
Step 1: Adding a New Keyboard Input Method
For Windows 11:
- Open Settings: Click the Start menu > gear icon, or just hit Windows + I.
- Navigate to Time & Language: Click it on the sidebar.
- Click Language & Region.
- Add a Language:
- Hit “Add a language.”
- Type in and select your desired language.
- Click “Next.”
- Choose Language Features:
- Make sure “Basic typing” is checked. Others like speech or handwriting are optional.
- Click “Install.”
- Manage Layouts (Optional):
- Click the three dots next to the added language > “Language options.”
- Under “Keyboards,” click “Add a keyboard” to pick specific layouts.
- Remove any extras you don’t need.
For Windows 10:
- Open Settings: Same as above.
- Go to Time & Language > Language.
- Add a Preferred Language:
- Click “Add a preferred language.”
- Search and select your language.
- Click “Next.”
- Pick Language Features (ensure “Basic typing” is selected).
- Adjust Layouts (Optional):
- Click the language > “Options.”
- Add or remove keyboard layouts as needed.
Step 2: Switching Between Input Methods
Once you’ve got multiple input methods set up, here are a few ways to toggle between them:
Option A: Language Bar (Taskbar Icon)
- Look for the language abbreviation near the clock (e.g., ENG, HIN).
- Click it to see your installed languages/layouts.
- Pick the one you want.
Option B: Keyboard Shortcut (Windows + Spacebar)
- Hold the Windows key.
- Tap the Spacebar to cycle through options.
- Release when you land on the one you want.
Option C: Left Alt + Shift (Legacy Shortcut)
- Press both keys together to switch languages.
- This won’t switch layouts within a language—use the other methods for that.
Step 3: Advanced Keyboard Settings (Optional)
For Windows 11:
- Settings > Time & Language > Language & Region
- You can reorder languages and keyboard layouts.
- Check out “Typing” settings for autocorrection, text suggestions, etc.
For Windows 10:
- Settings > Time & Language > Language
- Adjust order of languages and layouts.
- Explore “Spelling, typing & keyboard settings” for more tweaks.
Troubleshooting Tips
- Language Bar Missing? Right-click the taskbar > Taskbar settings > make sure “Input indicator” is on.
- Wrong Characters? Double-check you’ve selected the correct layout (e.g., US vs. AZERTY).
- Special Characters Not Working? You might need the “Character Map” app or specific layout shortcuts.
- IME Acting Up? Right-click the IME icon for additional settings and check it’s properly activated.
Getting a handle on keyboard input methods in Windows isn’t just a tech trick—it’s a real productivity boost, especially in multilingual or specialized work environments. Once set up, switching between languages and layouts becomes second nature.