What are You Looking for?
Search
Editorials
Tech
By
Elijah Lucas
May 30, 2025
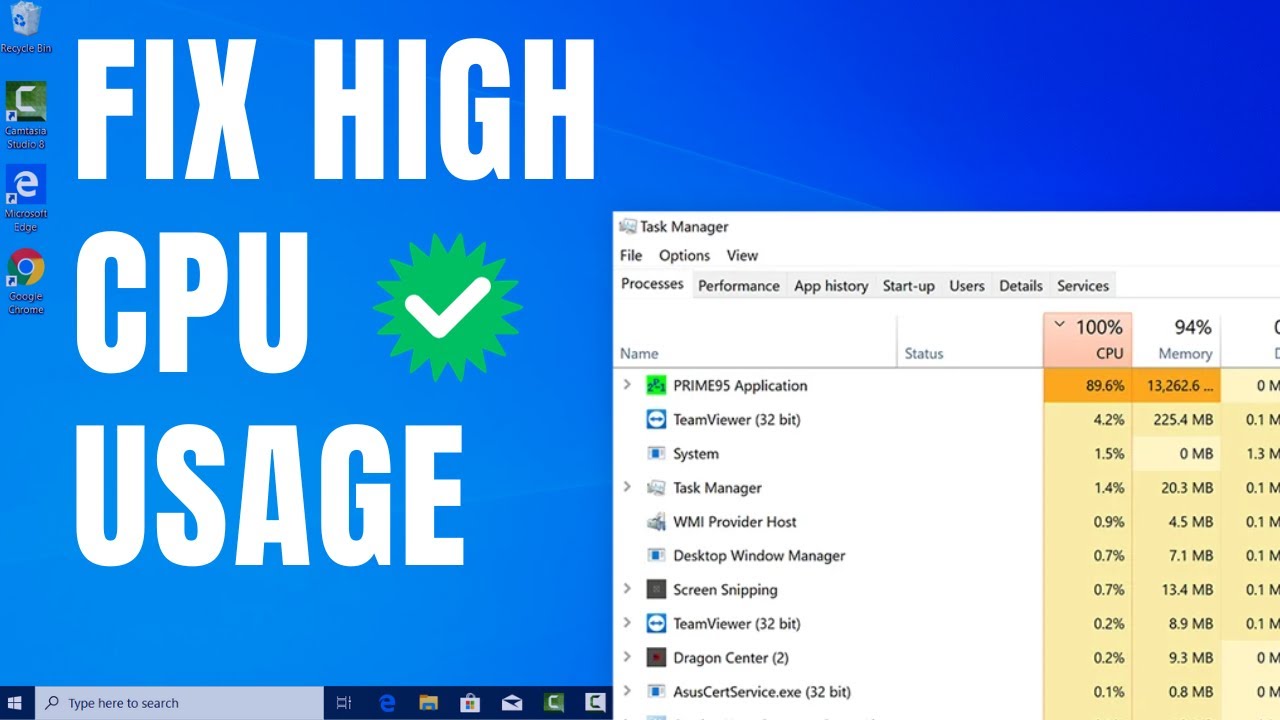
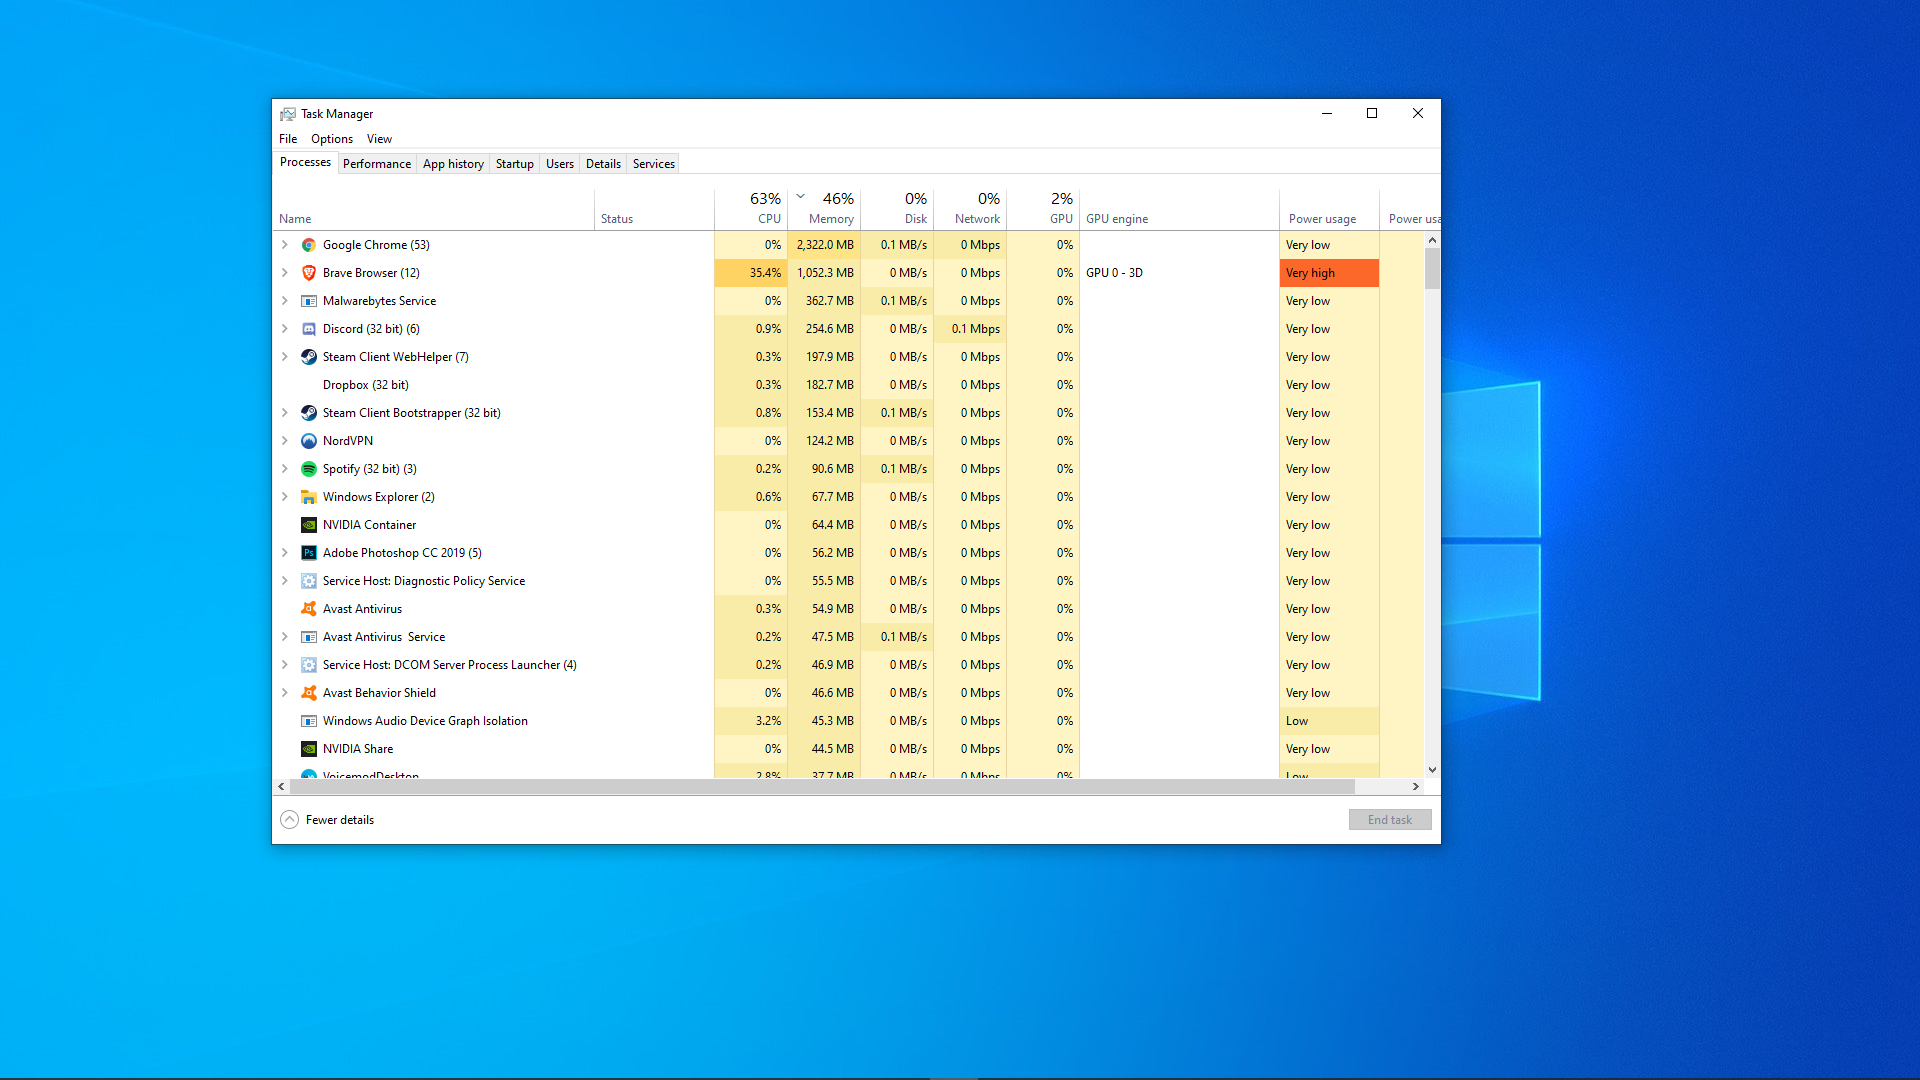
How to Fix High CPU Usage in Windows Task Manager
Editorials
By
Elijah Lucas
May 23, 2025
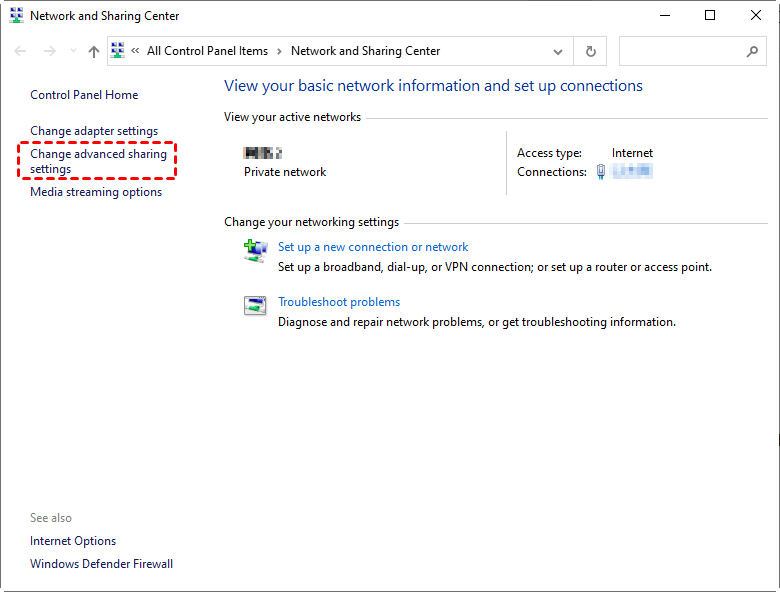
How to Reset Network Settings in Windows 10
Editorials
By
Elijah Lucas
May 21, 2025
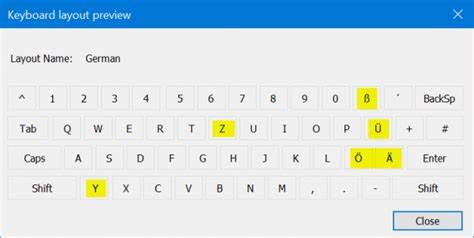
oHow to Change Keyboard Input Method in Windows
Editorials
By
Elijah Lucas
May 20, 2025
How to Change Apple ID Email Without Losing Data
Editorials
By
Elijah Lucas
May 19, 2025
How to Disable Windows Telemetry Data Collection
Editorials
By
Elijah Lucas
May 16, 2025
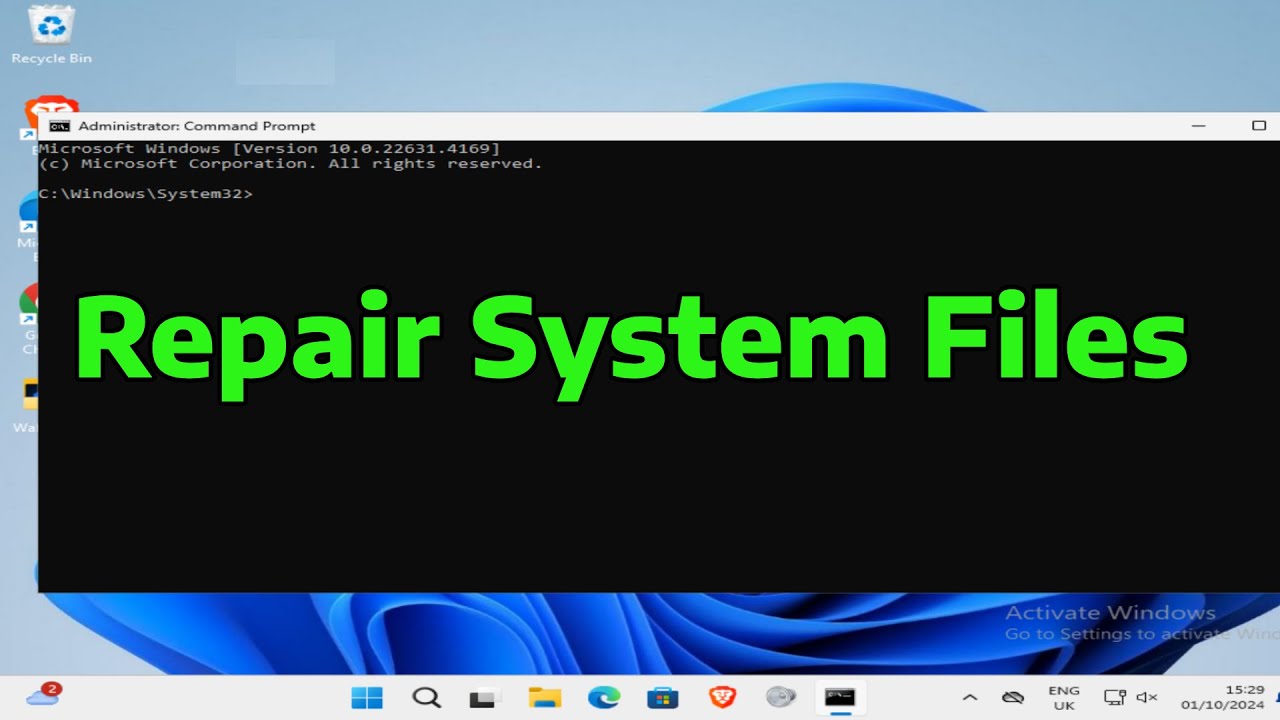
How to Repair Corrupted System Files in windows
Tech
By
Elijah Lucas
May 15, 2025
How to Fix Ethernet Not Working on Windows
Tech
By
Elijah Lucas
May 14, 2025
How to Disable Startup Programs in Windows Task Manager
Tech
By
Elijah Lucas
May 13, 2025
How to Share Files Between Windows PCs on Same Network
Tech
By
Elijah Lucas
May 9, 2025
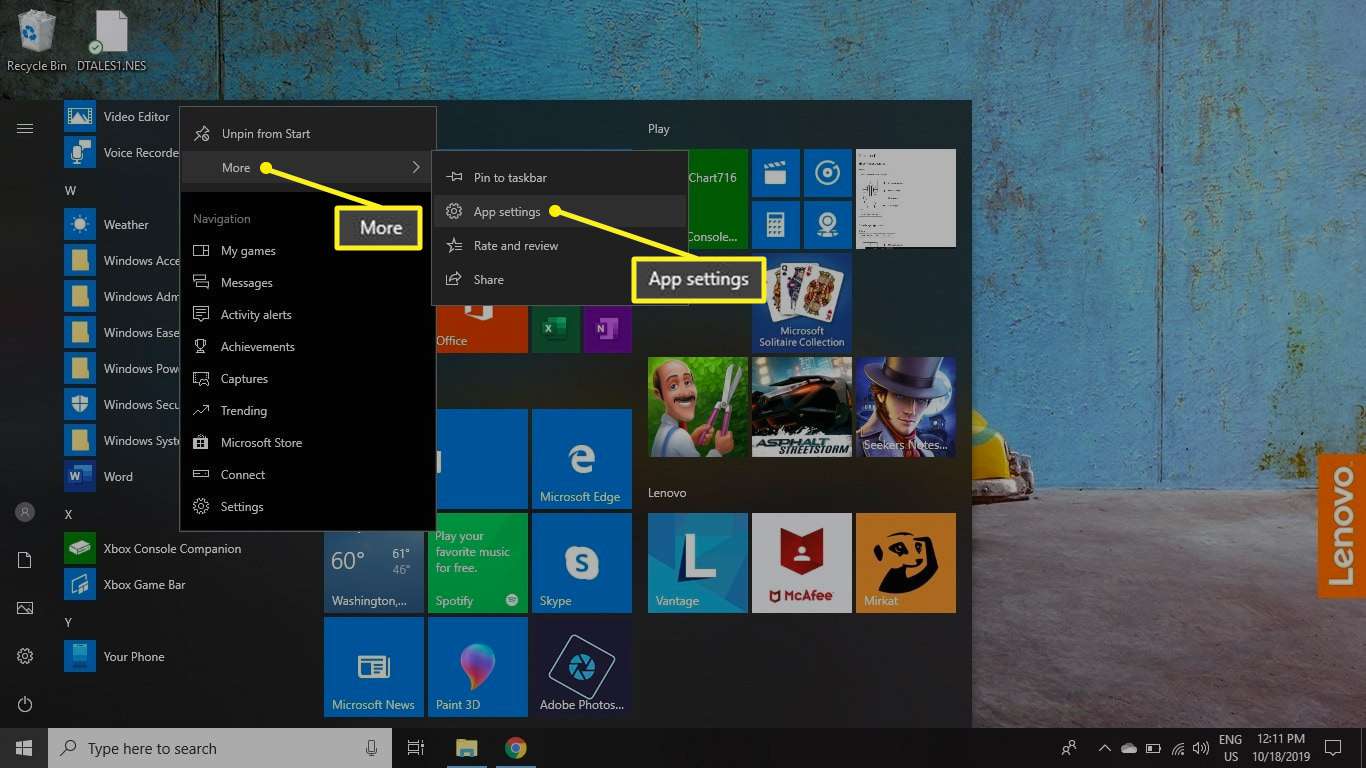
How to Manage App Permissions in Windows settings
Tech