Windows 11, by default, strongly encourages users to sign in with a Microsoft account (Microsoft ID) during setup and for daily use. While a Microsoft account offers benefits like cloud syncing, access to Microsoft Store apps, and OneDrive integration, some users prefer the privacy and simplicity of a local account. A local account stores all user data and settings directly on the computer, without requiring an internet connection for authentication or linking to cloud services.
Creating a local account in Windows 11 can be slightly less straightforward than in previous Windows versions, particularly during the initial setup phase. However, it is still entirely possible. This guide will provide clear, step-by-step instructions on how to create a local account in Windows 11 without a Microsoft ID, covering both the initial installation process and adding a new local user to an already set up system.
Understanding Microsoft Account vs. Local Account
Before diving into the steps, it’s helpful to understand the core differences:
- Microsoft Account (Microsoft ID): This is an online account (e.g., @outlook.com, @hotmail.com, @live.com) that connects your Windows device to various Microsoft services.
- Pros: Cloud synchronization of settings, access to Microsoft Store, OneDrive cloud storage, Find My Device, cross-device experience.
- Cons: Requires an internet connection for initial setup/login, ties your PC usage to an online identity, potential privacy concerns for some users.
- Entity: A Microsoft account (Microsoft ID) is a single sign-on web service provided by Microsoft that authenticates users for various Microsoft products and services, including Windows, Office 365, Outlook.com, OneDrive, and Xbox. It links user preferences and data across multiple Microsoft platforms.
- Local Account: This is a traditional user account specific to your Windows computer. It does not require an email address or connect to online services for authentication.
- Pros: Enhanced privacy (no online connection for login), simpler setup (no internet required during initial setup of Windows Home versions), all data stored locally.
- Cons: No cloud sync of settings, no direct access to Microsoft Store (though many apps can be downloaded directly from publisher websites), no OneDrive integration by default.
- Entity: A Local Account in Windows is a user account that exists only on a specific computer. It uses a username and password (or PIN) stored locally on that machine for authentication and does not require an internet connection or linkage to any online services like a Microsoft account.
Method 1: Creating a Local Account During Windows 11 Installation (Home & Pro Editions)
This method is crucial if you’re setting up a new Windows 11 PC and want to avoid a Microsoft account from the start. Microsoft has made this more challenging, especially for Windows 11 Home, but there are workarounds.
For Windows 11 Home Edition (Requires a “Trick”)
Microsoft Windows 11 Home typically requires an internet connection and a Microsoft account during initial setup. To bypass this and create a local account, you’ll need to interrupt the process.
- Disconnect from the Internet:
- Crucial Step: When you reach the “Let’s connect you to a network” or “Connect to the Internet” screen during Windows 11 setup, do not connect to Wi-Fi or Ethernet.
- If you’re connected via Ethernet, unplug the Ethernet cable.
- If you’re prompted to connect to Wi-Fi, select “I don’t have internet” if the option appears. If it doesn’t, or if it insists on an internet connection:
- Press Shift + F10 on your keyboard to open the Command Prompt window.
- Type oobe\bypassnro and press Enter.
- The system will reboot. When it restarts, you should now see the “I don’t have internet” option.
- Entity: The Out-of-Box Experience (OOBE) refers to the initial setup process that a user goes through when first starting a new Windows computer. It guides users through critical configuration steps like region selection, network connection, and account setup. The oobe\bypassnro command is a specific instruction to bypass the “Network Requirements Only” (NRO) step, allowing local account creation.
- Select “I don’t have internet”:
- After the reboot or if the option was initially available, select “I don’t have internet.”
- Choose “Continue with limited setup” (or similar phrasing):
- On the next screen, you will likely be prompted to connect to a network again, with an option like “Continue with limited setup” or “Continue without internet.” Click this option.
- Create Your Local Account:
- You will now be taken to the “Who’s going to use this device?” screen.
- Enter your desired username for the local account.
- Click “Next.”
- Enter a password (and confirm it). If you wish to have no password, leave it blank and click “Next.”
- Set up security questions for password recovery (three questions are required).
- Complete the rest of the setup process (privacy settings, etc.).
For Windows 11 Pro, Education, or Enterprise Editions (Easier Bypass)
These editions often provide a more direct path to local account creation during setup.
- Reach Account Setup:
- Proceed through the initial setup steps (region, keyboard layout) until you reach the “How would you like to set up this device?” screen.
- Choose “Set up for personal use” or “Set up for work or school” (if applicable).
- Select “Sign-in options”:
- When prompted to sign in with a Microsoft account, look for a small link below the sign-in fields that says “Sign-in options.” Click on it.
- Choose “Offline account” or “Local account”:
- From the options presented, select “Offline account” or “Local account.”
- Create Your Local Account:
- You will be asked to confirm this choice. Click “Skip for now” or “Next.”
- Proceed to enter your desired username, password, and security questions for the local account.
- Complete the remaining setup steps.
Method 2: Creating a Local Account on an Already Installed Windows 11 System
If your Windows 11 system is already set up with a Microsoft account (or another local account) and you want to add a new local user, follow these steps.
- Open Windows Settings:
- Click the Start button, then the gear icon (Settings).
- Alternatively, press Windows key + I.
- Navigate to Accounts:
- In the Settings app, click on Accounts in the left-hand navigation pane.
- Go to Family & Other Users:
- In the Accounts settings, click on Family & other users (or just Other users depending on your Windows 11 version).
- Add an Account:
- Under the “Other users” section, click the “Add account” button.
- Bypass Microsoft Account Prompt:
- A “Microsoft account” dialog box will appear, asking “How will this person sign in?”.
- Crucial Step: Click the link that says “I don’t have this person’s sign-in information.”
- Choose Local Account Creation:
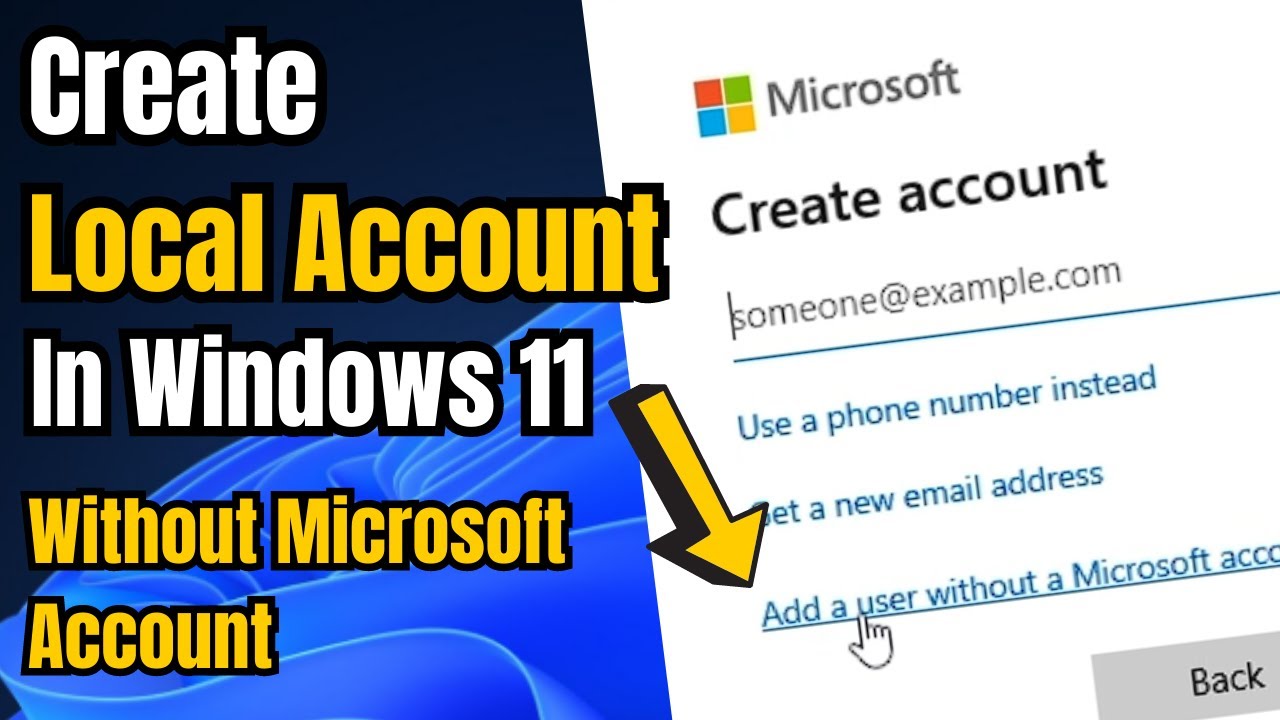
- The next screen will offer to help you create a Microsoft account.
- Crucial Step: Click the link that says “Add a user without a Microsoft account.”
- Create the Local User Account:
- You will now be presented with a simple form to create the local account:
- “Who’s going to use this PC?”: Enter the username for the new local account.
- “Choose a password”: Enter a password for the account (leave blank for no password, but it’s not recommended).
- “Re-enter password”: Confirm the password.
- “Password hint”: (Optional) Provide a hint.
- Security questions: Answer three security questions, which are required for password recovery for local accounts.
- Click “Next” to finish creating the local account.
- You will now be presented with a simple form to create the local account:
Step 3: Manage Local Account Permissions (Optional)
By default, newly created local accounts are standard users. You might want to elevate a local account to an administrator if it’s for someone who needs full control over the PC.
- Open Windows Settings (Windows key + I).
- Navigate to Accounts > Family & other users.
- Select the Local Account:
- Under “Other users,” click on the local account you just created.
- Click on “Change account type.”
- Change Account Type to Administrator:
- In the “Change account type” dialog box, open the dropdown menu.
- Select “Administrator” from the list.
- Click “OK.”
Important Considerations for Local Accounts
- No Cloud Sync: Remember that settings, desktop backgrounds, and browser data will not sync across devices with a local account.
- Microsoft Store: While you can still install apps from the Microsoft Store, some functionalities (like reviews, syncing app data, or using apps that require Microsoft account authentication) may be limited or require you to sign in with a Microsoft account within the app itself.
- OneDrive: OneDrive cloud storage is not automatically integrated with a local account, though you can still download and install the OneDrive sync client separately and sign in with a Microsoft account if you wish.
- Password Recovery: For local accounts, the security questions are crucial for password recovery. If you forget your password and don’t remember the answers to your security questions, you might be locked out of the account. There is no online password reset for local accounts.
By following these steps, you can successfully create and manage local accounts in Windows 11 without tying them to a Microsoft ID, giving you more control over your user experience and privacy preferences.
FAQ Section
Q1: Can I switch from a Microsoft account to a local account after Windows 11 is set up?
A1: Yes, you can switch an existing Microsoft account on Windows 11 to a local account.
- Go to Settings > Accounts > Your info.
- Click “Sign in with a local account instead.”
- Follow the on-screen prompts, providing a local username and password. Your files will remain, but cloud sync and Microsoft services tied to the Microsoft account will be disconnected.
Q2: What happens if I forget the password for my local account?
A2: If you forget the password for a local account in Windows 11, you will need to answer the security questions you set up during its creation. If you cannot answer them, recovering access to the account can be very difficult. You might need to use an administrator account to reset the password or, in extreme cases, resort to advanced recovery methods that could involve data loss. There is no “forgot password” link that emails you a reset code for local accounts.
Q3: Do I need an internet connection to set up a local account during Windows 11 installation?
A3: For Windows 11 Home, yes, by default, it tries to force an internet connection and Microsoft account during the Out-of-Box Experience (OOBE). However, you can bypass this by disconnecting from the internet and using the oobe\bypassnro command in Command Prompt (Shift + F10) during the network setup phase. For Windows 11 Pro, Education, or Enterprise, you can usually select “Sign-in options” and then “Offline account” without needing a special command or internet disconnection.
Q4: Will a local account get Windows updates?
A4: Yes, Windows updates are managed at the system level, not the account level. A Windows 11 PC using a local account will still receive all critical security updates, feature updates, and driver updates as long as it has an internet connection. The type of user account (local vs. Microsoft) does not affect the update process.
Q5: Can I still download apps from the Microsoft Store with a local account?
A5: You can open the Microsoft Store app with a local account. When you try to download a free app, it might prompt you to sign in with a Microsoft account, but you can usually proceed with the download without signing in. For paid apps or apps that integrate deeply with Microsoft services (like OneDrive), you will typically need to sign in with a Microsoft account within the Store or the app itself.