


How to organize files and folders efficiently on a laptop
Learn how to recover data from a corrupted hard drive with our comprehensive step-by-step guide, covering various methods and essential tips.
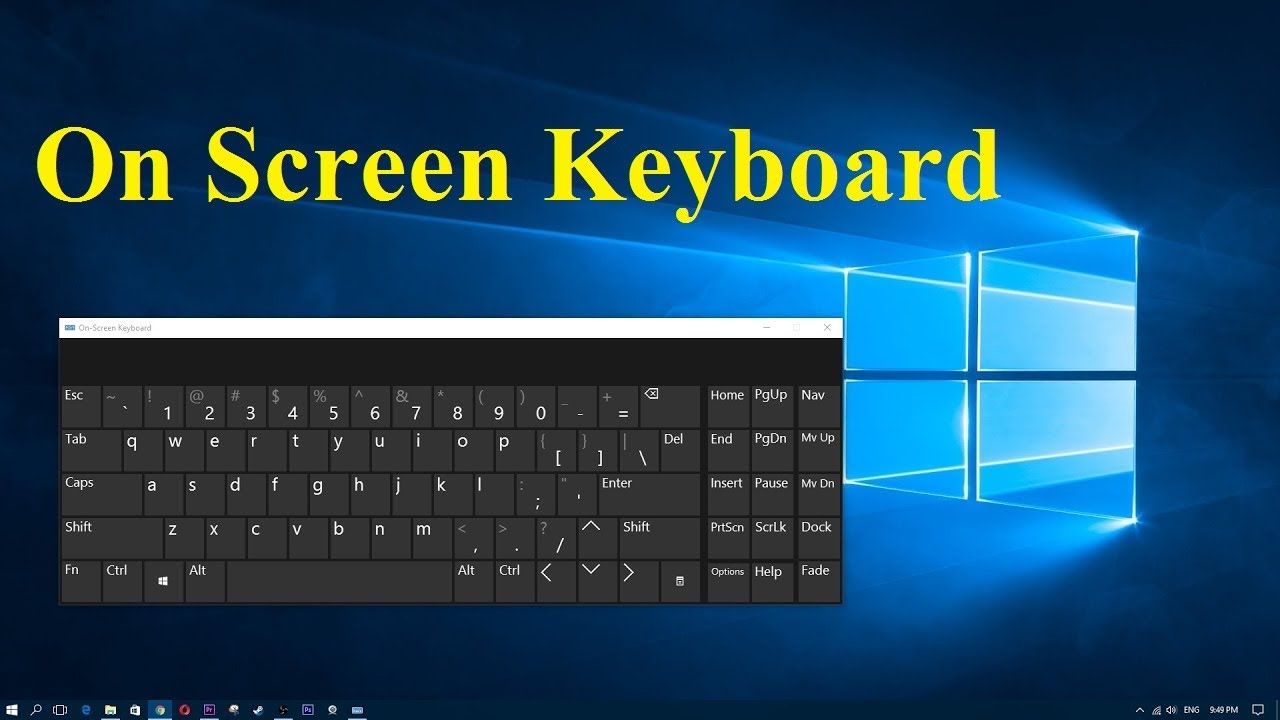
How to Enable On-Screen Keyboard in Windows
Learn how to enable the On-Screen Keyboard in Windows with our easy guide. Covers shortcuts, settings, and how to launch it from the login screen.
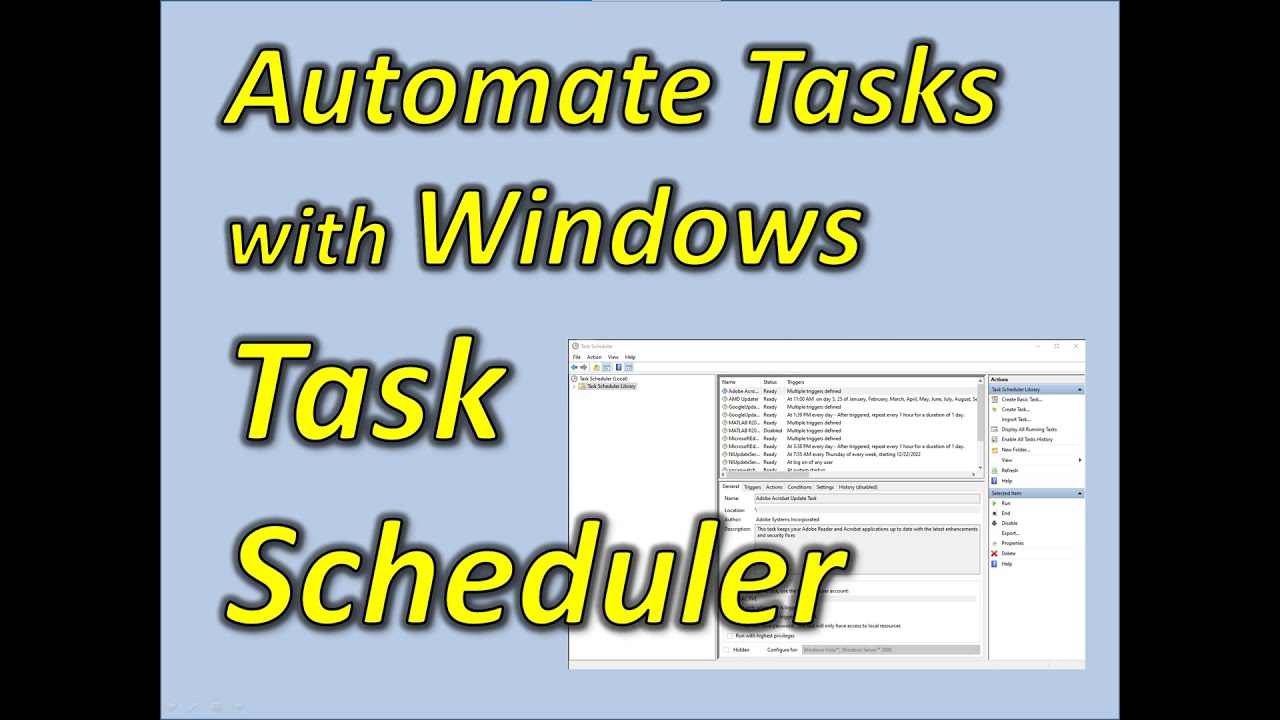
How to use Windows Task Scheduler for Automation
Learn how to automate tasks using Windows Task Scheduler with our detailed guide. Create, configure, and manage scheduled tasks to boost productivity and maintain your PC.
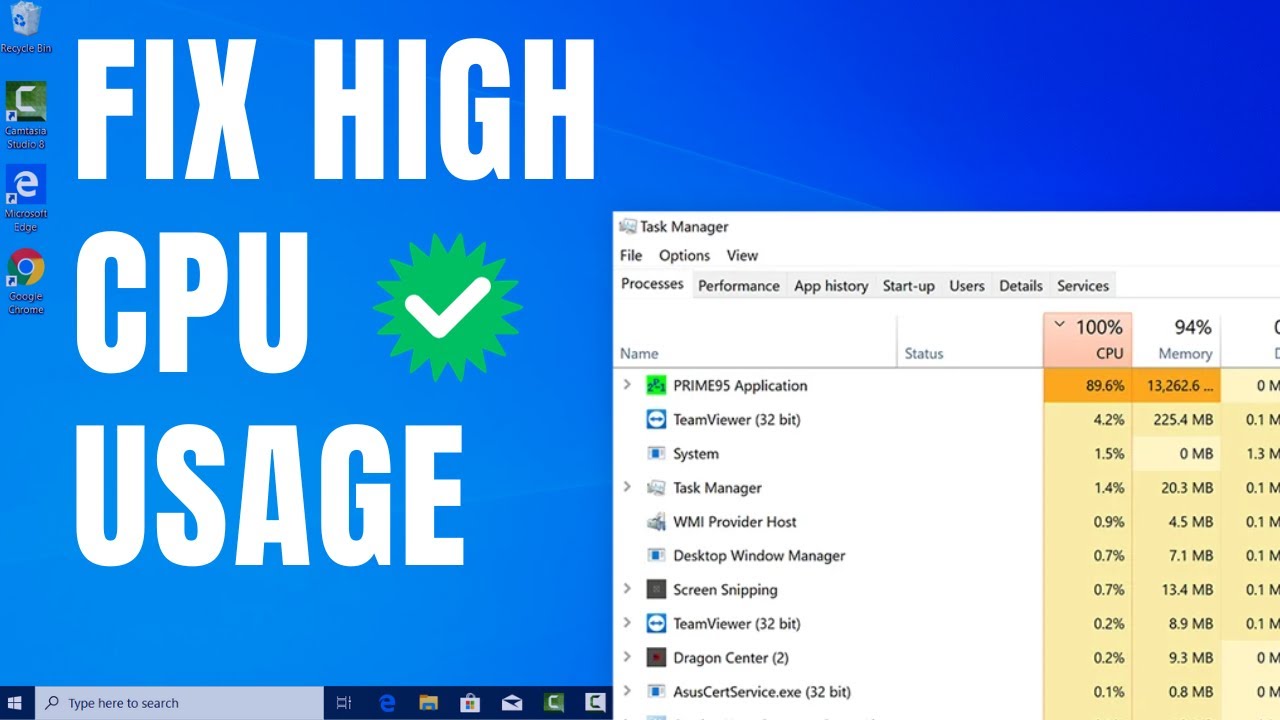
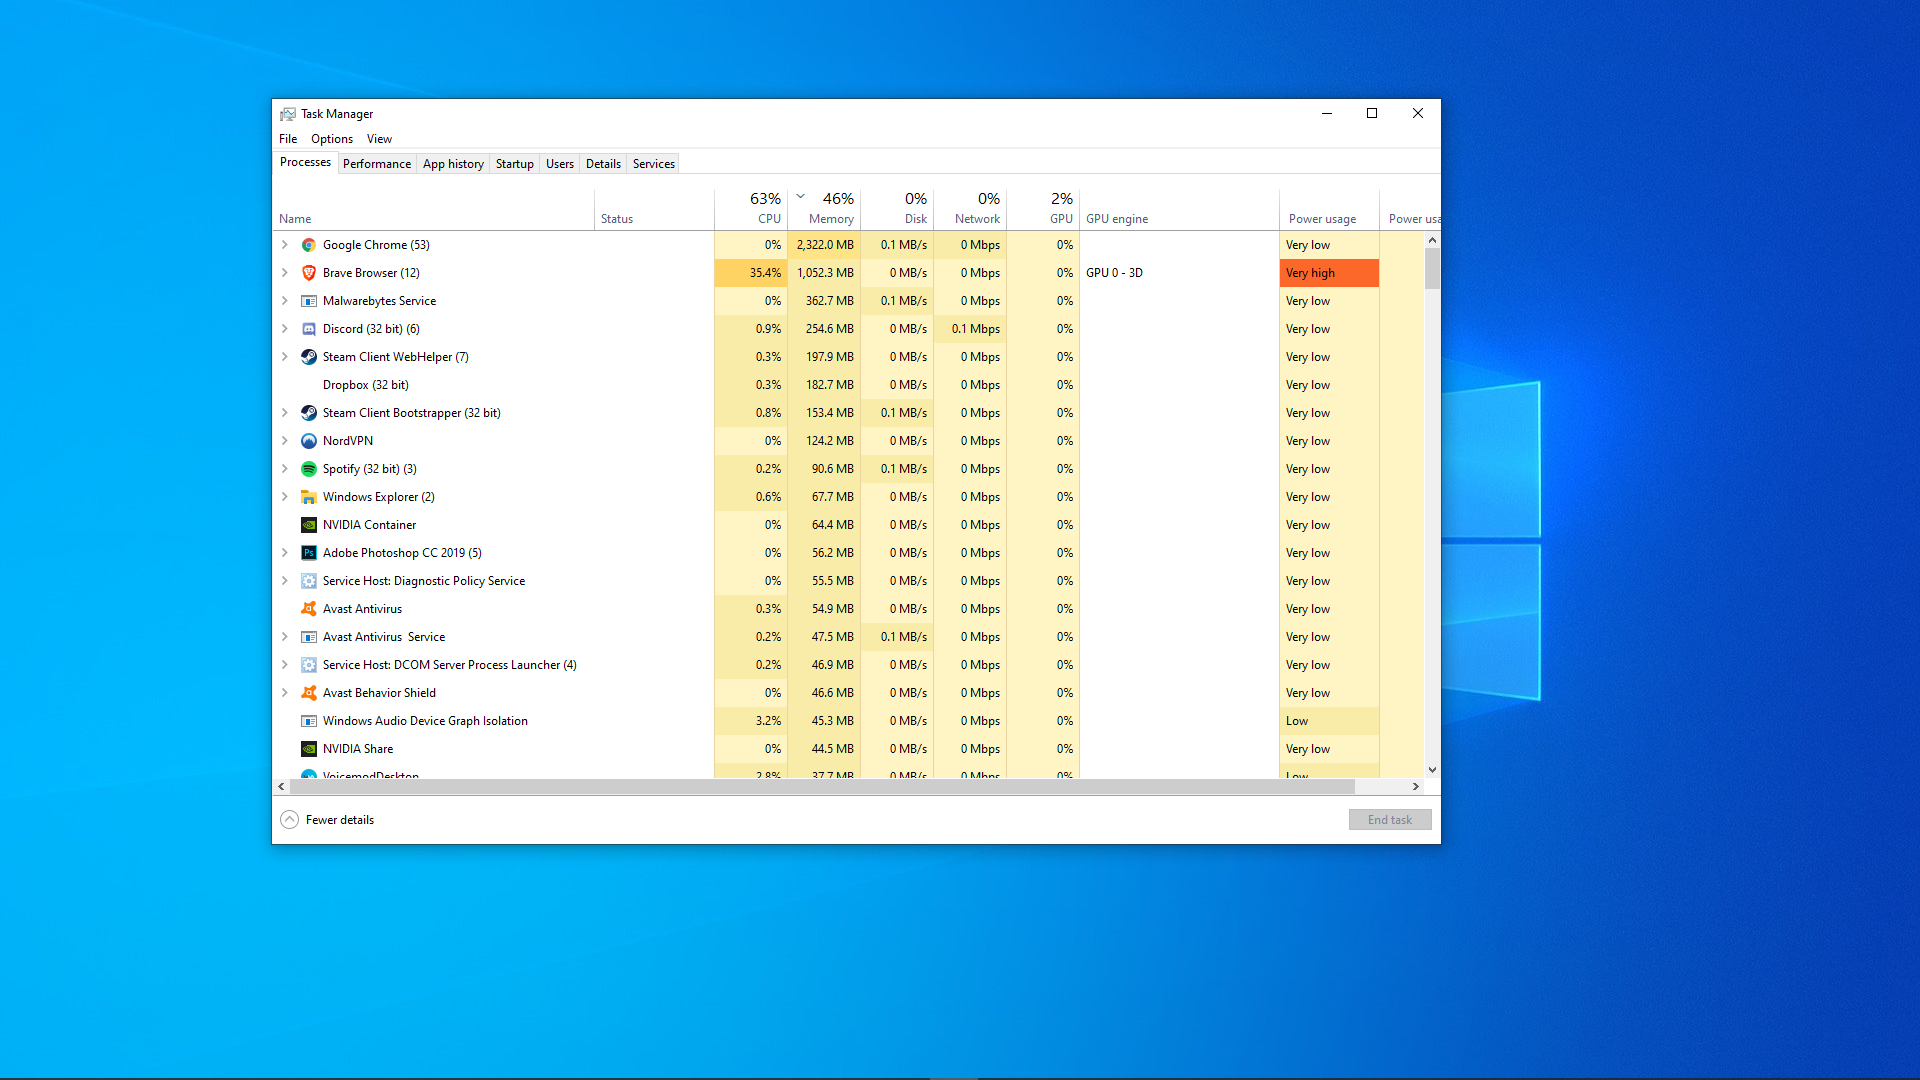
How to Fix High CPU Usage in Windows Task Manager
Repair corrupted system files in Windows with this detailed guide. Learn to use SFC, DISM, System Restore, and more to fix your PC.

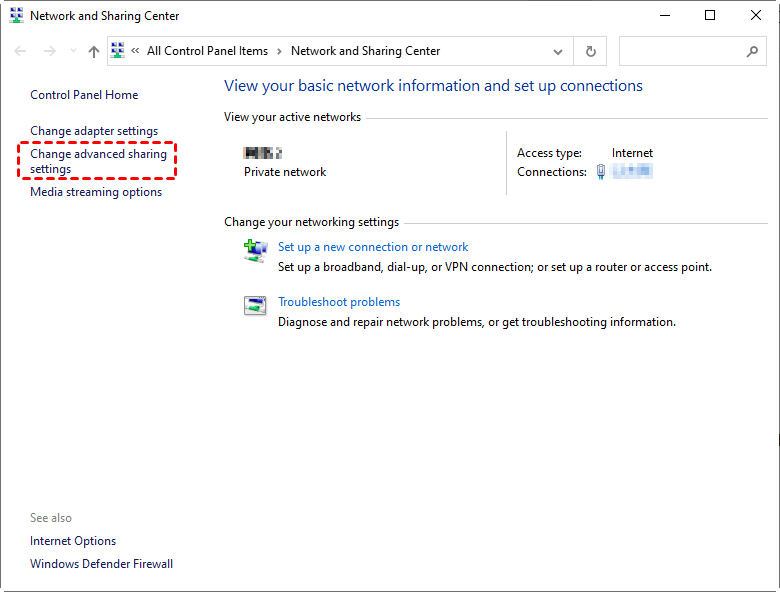
How to Reset Network Settings in Windows 10
Learn how to reset network settings in Windows 10. Step-by-step guide to fix internet connectivity issues, Wi-Fi problems, and common network glitches effectively.
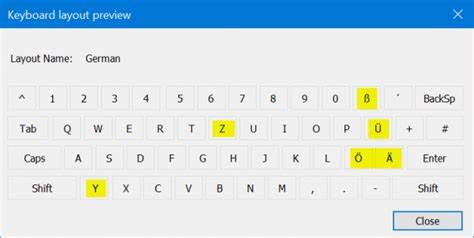
oHow to Change Keyboard Input Method in Windows
Learn how to change keyboard input method in Windows 10 and 11. This step-by-step guide covers adding languages, switching layouts with shortcuts, and managing settings for multilingual typing.
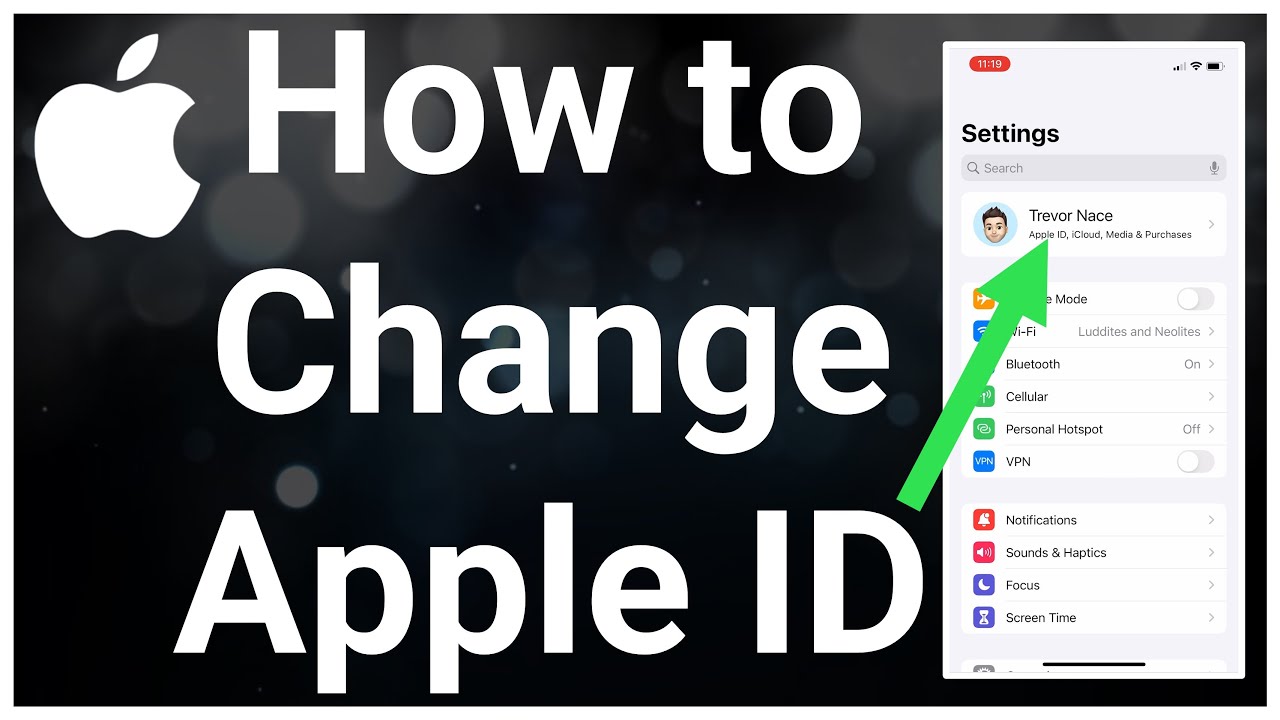
How to Change Apple ID Email Without Losing Data
Learn how to change your Apple ID email without losing data. Step-by-step guide to safely update your Apple ID and keep all iCloud data intact.

How to Disable Windows Telemetry Data Collection
Learn how to disable Windows telemetry data collection completely using Settings, Group Policy, and Registry Editor. Step-by-step instructions for all Windows editions.
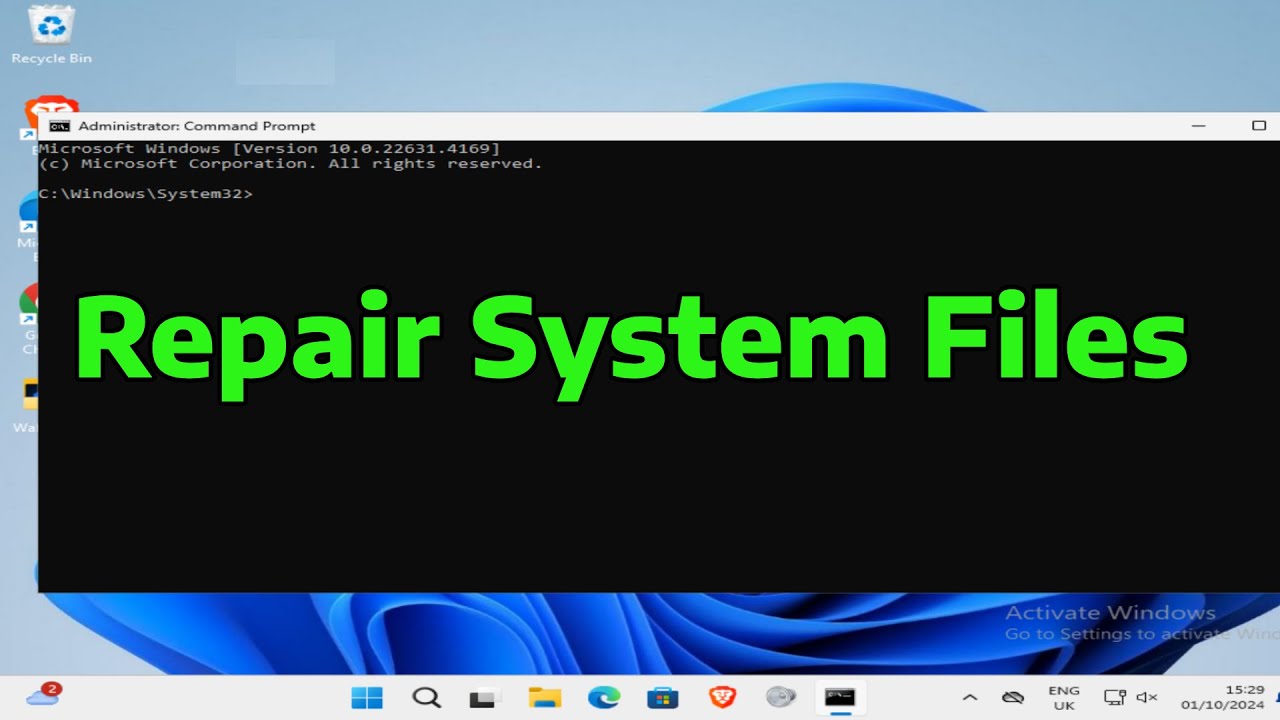
How to Repair Corrupted System Files in windows
Learn how to repair corrupted system files in Windows with step-by-step instructions using SFC, DISM, Safe Mode, System Restore, and repair install methods.
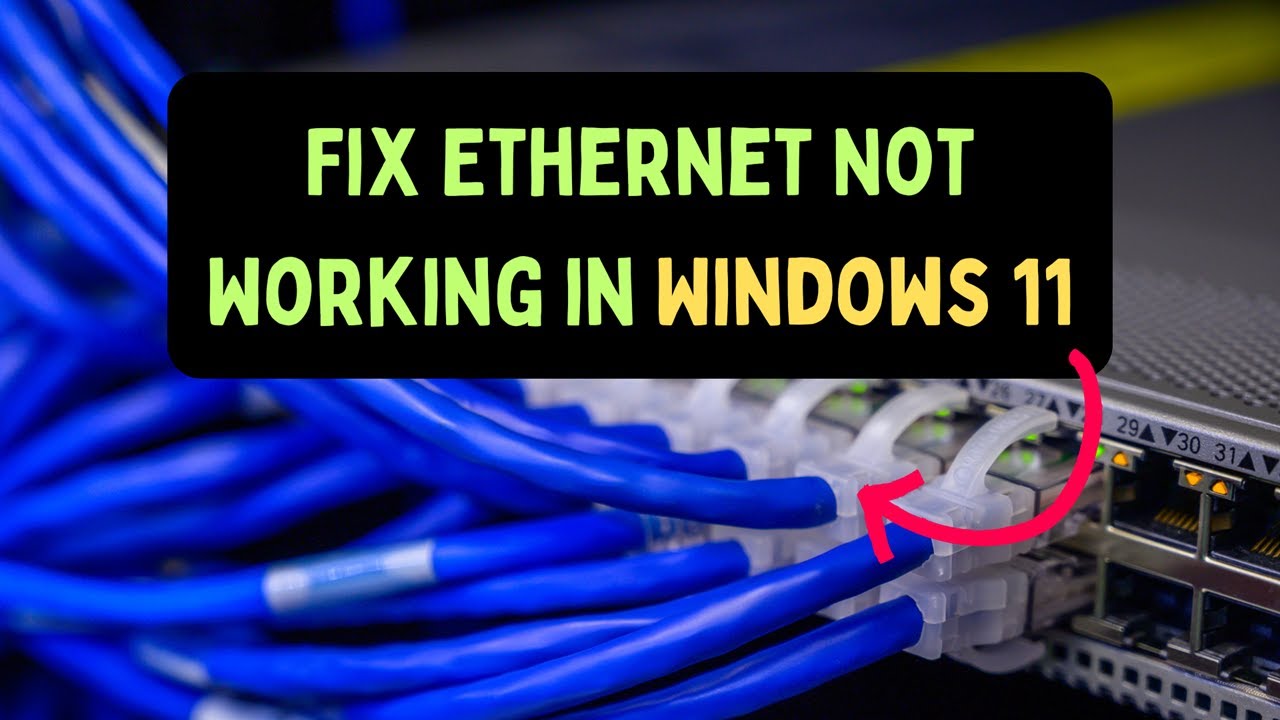
How to Fix Ethernet Not Working on Windows
Fix Ethernet not working on Windows with this step-by-step guide covering hardware checks, driver updates, network resets, and troubleshooting tips.
How to Disable Startup Programs in Windows Task Manager
Learn how to disable startup programs in Windows Task Manager to speed up your system boot time with this simple, step-by-step guide for Windows 10 and 11.
How to Share Files Between Windows PCs on Same Network
Learn how to share files between Windows PCs on the same network using built-in features like File Explorer sharing, Nearby Sharing, and network drive mapping.